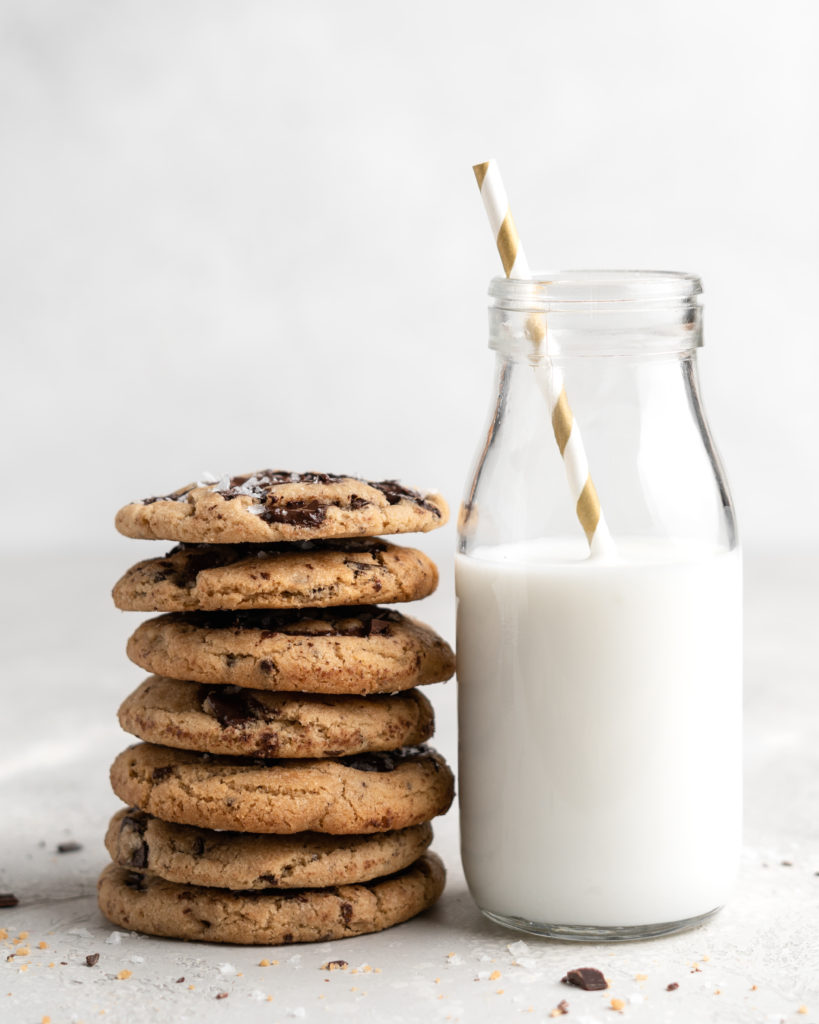
Chewy Brown Butter Chocolate Chip Cookies: 2020 Updated
Updated: This post is an update to my original Chewy Brown Butter Chocolate Chip Cookies. I have changed the recipe slightly, as well as added new photos.
These perfect Chewy Browned Butter Chocolate Chip Cookies are downright amazing. Crispy on the outside with a delectably chewy center, these chocolate chip cookies are what dreams are made of! To me, the perfect cookie should remain soft in the center for days after baking, while still having that initial crunch of the crispy caramelized exterior. These chewy chocolate chip cookies use a combination of ingredients to ensure they are soft, chewy, and tender, while not skimping on any of the flavor!
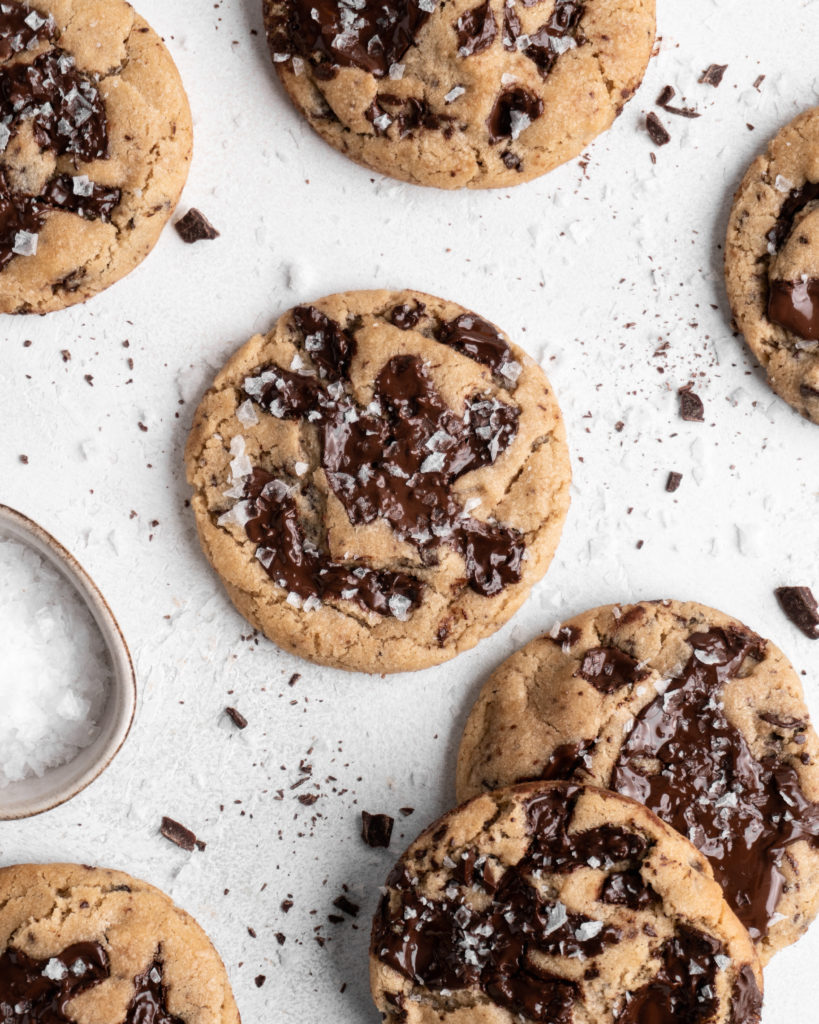
Achieving the perfect brown butter chocolate chip cookie
As I stated in the description, to me, the most perfect cookie is one that is soft, chewy, and tender through the center, while still having those delicious crispy caramelized outside pieces. The cookie should also be full of flavor (duh!), truly the cookie of your dreams! And to be honest, a good chocolate chip cookie is sometimes hard to come by! The perfect chewy chocolate chip cookie is achieved not by one ingredient, but the combination of different ones! Brown vs white sugar, the perfect amount of flour, whole eggs vs yolks, and resting vs no resting. Using baking science, and a lot of trial and error, I have developed a recipe that checks all the boxes – chewy, ultra-flavorful, tender, with that slightly caramelized crispy outside.
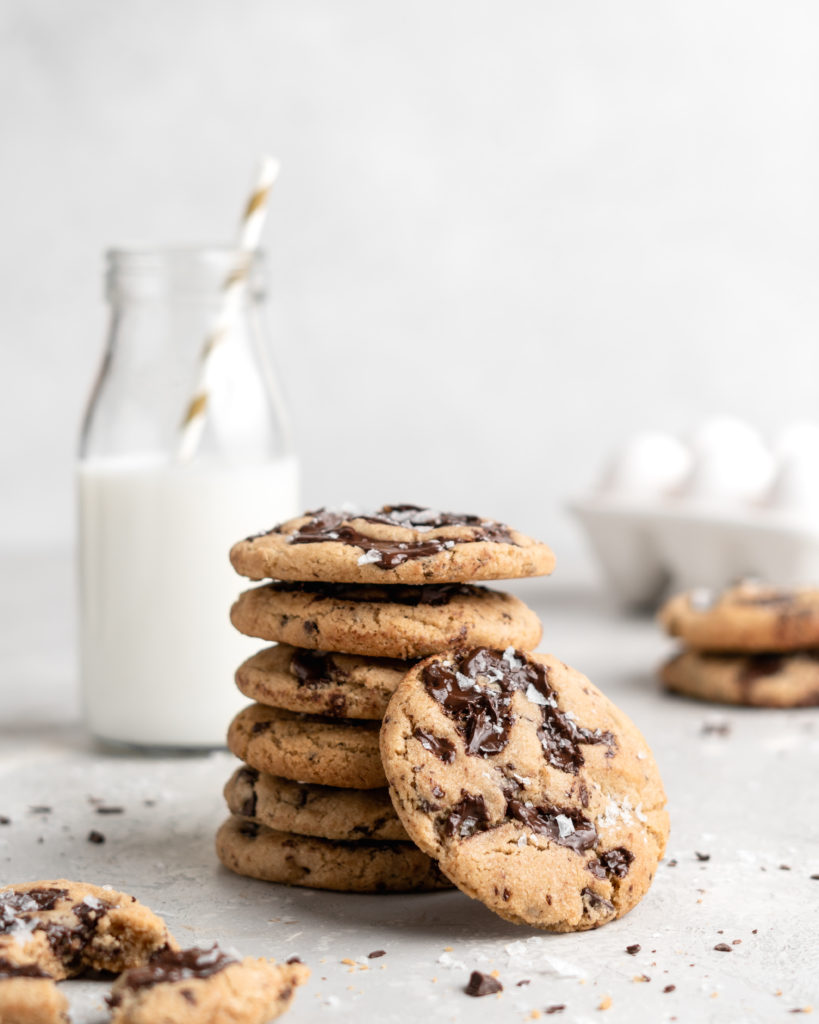
Browning the butter
A huge amount of the flavor in the chocolate chip cookies comes from the use of brown butter! he process of browning the butter, involves the separating of butterfat and milk solids. The milk solids sink to the bottom of the pan and begin to undergo the Maillard reaction due to the heat, essentially caramelizing the milk solids. What is created is butter that is deep in color and rich in flavor. The Maillard reaction causes the butter to take on a taste that is reminiscent of nuts and caramel.
Browning butter is actually quite easy, so do not be intimidated! You want to add the unsalted, cubed, room temperature butter to a small sauce pan over medium heat. Then essentially boil the butter and continue to boil, stirring constantly to promote even cooking, until the color is a beautiful nutty brown and ultra-fragrant. It is important to note that after browning the butter, it is essential to let it cool back down to room temperature though. This is essential because the butter needs to be at room temperature to properly cream with the sugar later. To do this quickly, I put the browned butter into a glass measuring cup and place it into the freezer to cool, stirring every 15 minutes to promote even cooling, for about an hour.
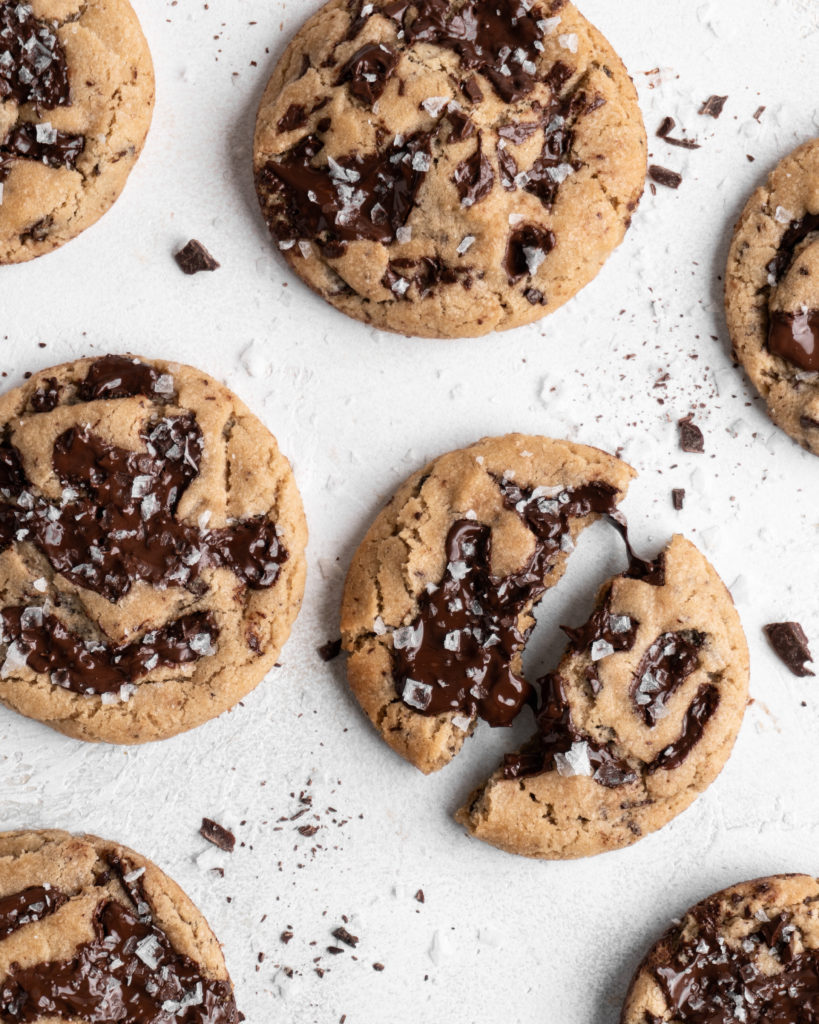
The Right Amount of Flour
In my previous recipe, I stated that you should use bread flour instead of AP flour for a chewier cookie. After testing this brown butter chocolate chip cookie recipe time and time again for well over a year, I have concluded that the use of bread flour is unnecessary to the final desired texture. What is necessary, however, is the proper measurement of flour!
Too much flour means the brown butter chocolate chip cookies will be tough and dry, too little flour and the cookies have no structure. Using the perfect amount of flour means weighing it! Volumetric measurement of flour can sometimes over-measure by up to 100% – that means that you could be adding double the required flour, leading to a dry and tough chocolate chip cookie! Measuring the flour by weight ensures that your brown butter chocolate chip cookies will be perfectly chewy and tender every. single. time.
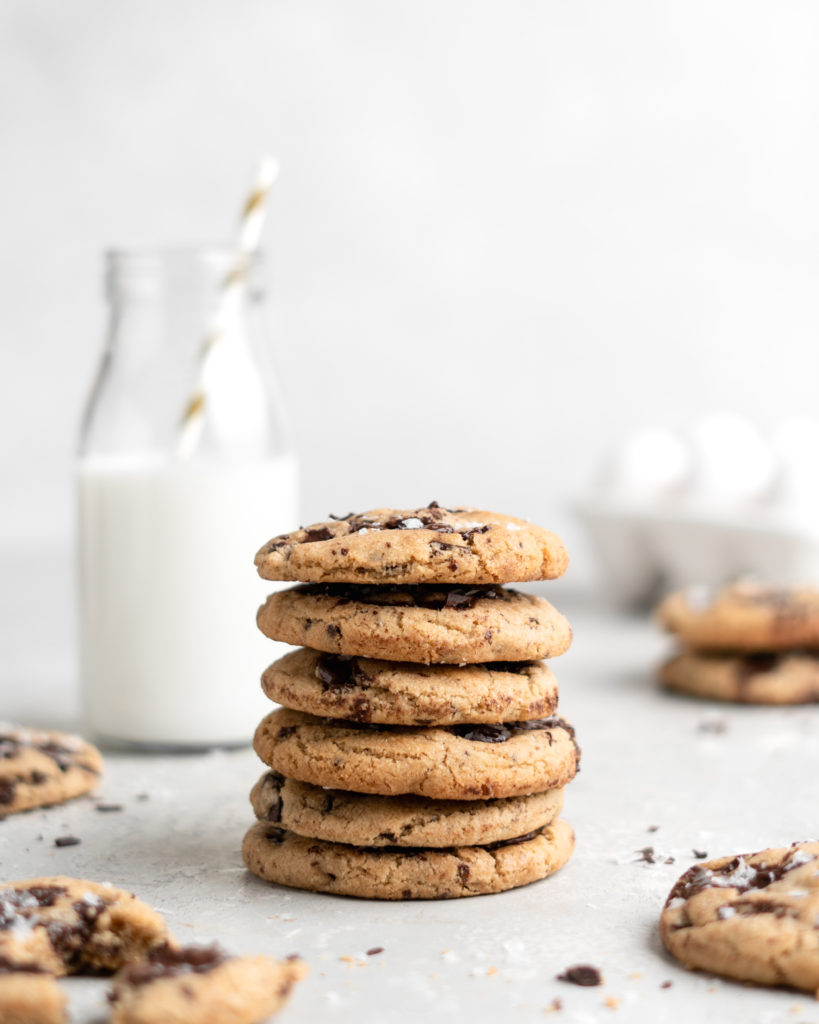
BROWN SUGAR VS WHITE SUGAR
Brown sugar provides the cookie with more flavor, thanks to the small amount of molasses, but also provides a great amount of moisture to the cookie, as brown sugar, by nature, has more moisture than white. This additional moisture makes for a chewier cookie. Furthermore, brown sugar is acidic, and therefore speeds up gluten production. This causes the dough to set quickly, meaning that it will by thicker and chewier. White sugar, on the other hand, interferes with gluten production, which allows the cookie to spread out more during baking, leading to crispier chocolate chip cookies. However, as we want those delicious crispy outsides, white sugar is also needed. White sugar caramelizes much easier than brown sugar, which not only provides that crispy outside, but also plays a huge role in the overall appearance, and flavor!
WHOLE EGGS VS YOLKS
Eggs play many roles in cookies. The whole eggs provides water for gluten development, lecithin which acts as an emulsifier, fat for tenderness, and protein for structure. The extra yolk, however, which are essentially just extra fat, add both color and tenderness to the cookie. This extra fat leads to a richer, flavorful, and more importantly chewier cookie! However, they also aid in the maillard reaction, which allows the caramelization of the cookie, allowing the outside to remain nice and crispy.
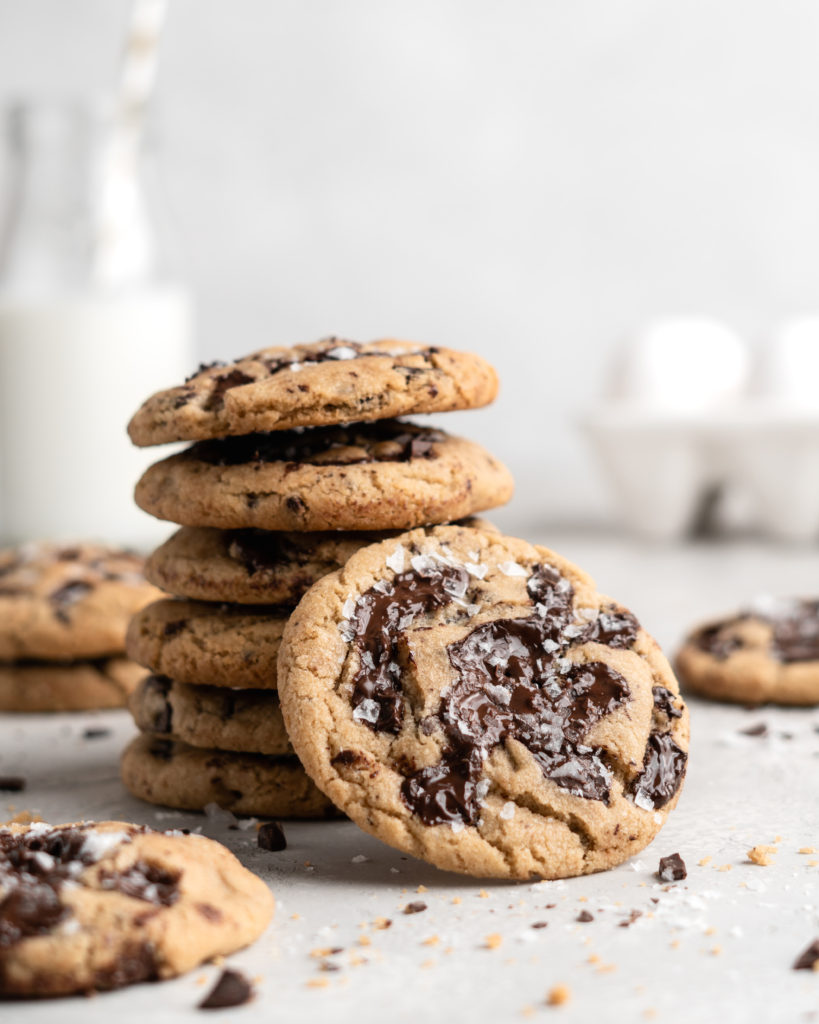
RESTING VS NO RESTING
Now for the most important part: Resting and cooling the cookies! I know that it is tempting to just throw the cookies into the oven when we are done mixing – I mean who wants to wait? But it truly is crucial to the chocolate chip cookies to give them a short little 30 minute resting period. Resting the cookie dough is the finishing touch on all this crazy baking science, and without it the cookies texture will simply be inferior. Allowing the cookie dough to rest has many advantages.
First, it allows the fats in the dough to solidify and cool. This means that when they enter the oven they are going to spread out WAY less! This will allow the cookie to retain its shape and chewy texture. Furthermore, allowing the dough to rest also gives the sugar and flour a chance to absorb any free floating liquid in the dough. This leads to a more uniform cookie, but also controls spread too (Think more free floating liquid = runnier dough = more spreading)! Chilling the dough also slightly dehydrates the dough, thereby concentrating the flavors in the cookie a bit as well.
Get the Recipe: Chewy Brown Butter Chocolate Chip Cookies
Ingredients
- 300 g All Purpose Flour
- 1 tsp Baking Soda
- 1 tsp Salt
- 1/2 cup Unsalted Butter,, cubed
- 1/2 cup Unsalted Butter,, at room temperature
- 1 cup Brown Sugar
- 1/2 cup White Sugar
- 2 Large Eggs
- 1 Egg Yolk
- 2 tsp Vanilla
- 1 cup Semi Sweet Chocolate Chips or Chopped Semi Sweet Chocolate
- (Optional) Flaky Sea Salt,, for sprinkling
Equipment
- Stand mixer
Instructions
- In a small sauce over medium heat, add cubed 1/2 cup butter and bring to a boil. Continue heating over medium heat, constantly stirring until the butter has turned a nutty brown color. It may be hard to see the color if your butter is foaming a lot, so periodically take it off the heat to check the color. Remove from heat, place into a heat proof glass and then into the freezer to cool off for 45 minutes to 1 hour, stirring every 15 minutes to promote even cooling. When ready, the butter should be similar in consistency to room temperature butter.
- In a medium to large sized bowl, add in flour, baking soda, and salt. Whisk well to combine, then set aside.
- In a stand mixer, fitted with the paddle attachment, add room temperature 1/2 cup butter and cooled browned butter. Beat on medium-high until well combined. Add in both sugars and beat for 3 minutes, it should look light and fluffy, and expanded in size.
- Add the eggs, yolk and vanilla until smooth, then beat for another 1 minute, scraping at the edges periodically. Add in the dry mixture and mix on low until combined, scraping at the edges. Ensure it is well combined, but do not overmix. Add in the chocolate chips, and fold with a spatula until well dispersed.
- Preheat oven to 350°F. Meanwhile, prepare a baking sheet with parchment paper. Using your hands or a scoop, arrange cookies to be about 2 tbsp each. Place all the cookies onto the baking sheet (do not worry about arrangement yet), sprinkle with sea salt if using, and place into the freezer for 30 minutes to rest and cool(don’t skip, see above!)
- Remove baking sheet from the freezer, and arrange cookies evenly onto 3 baking sheets fitted with parchment paper (I do 8-9 per sheet). Place into the oven and bake for 9-11 minutes.
- Note: If baking in batches, keep cookies cold before baking by keeping them in the fridge.

