Chewy Browned Butter Chocolate Chip Cookies
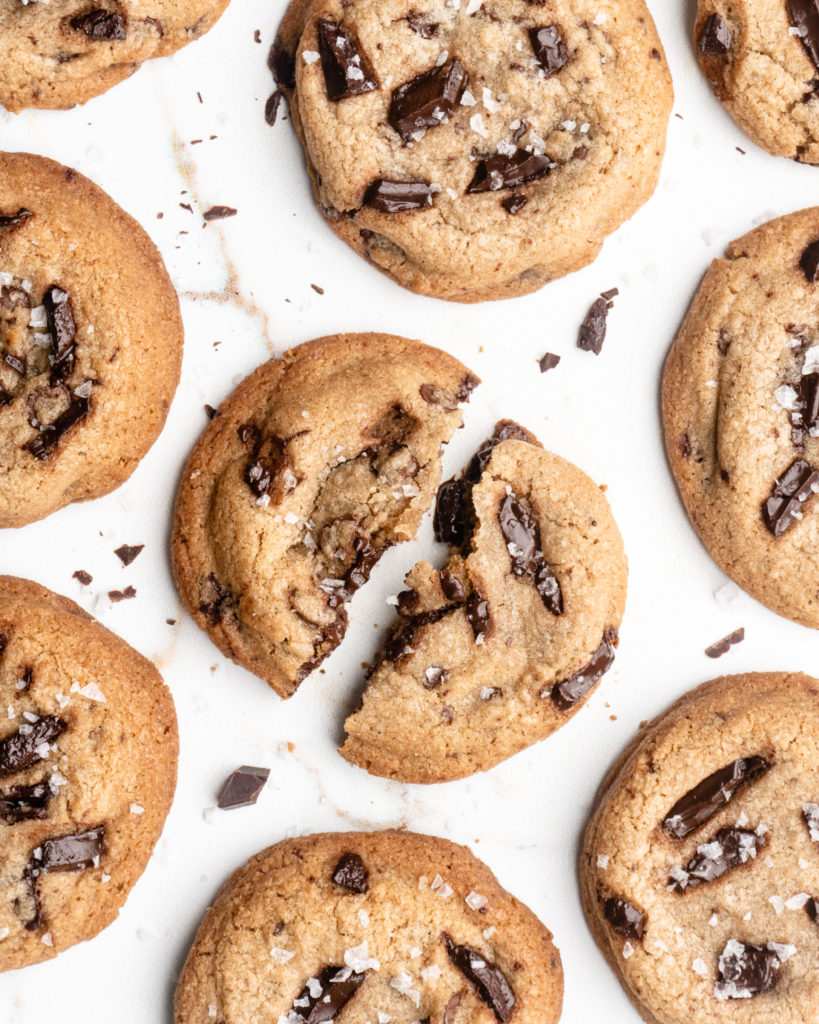
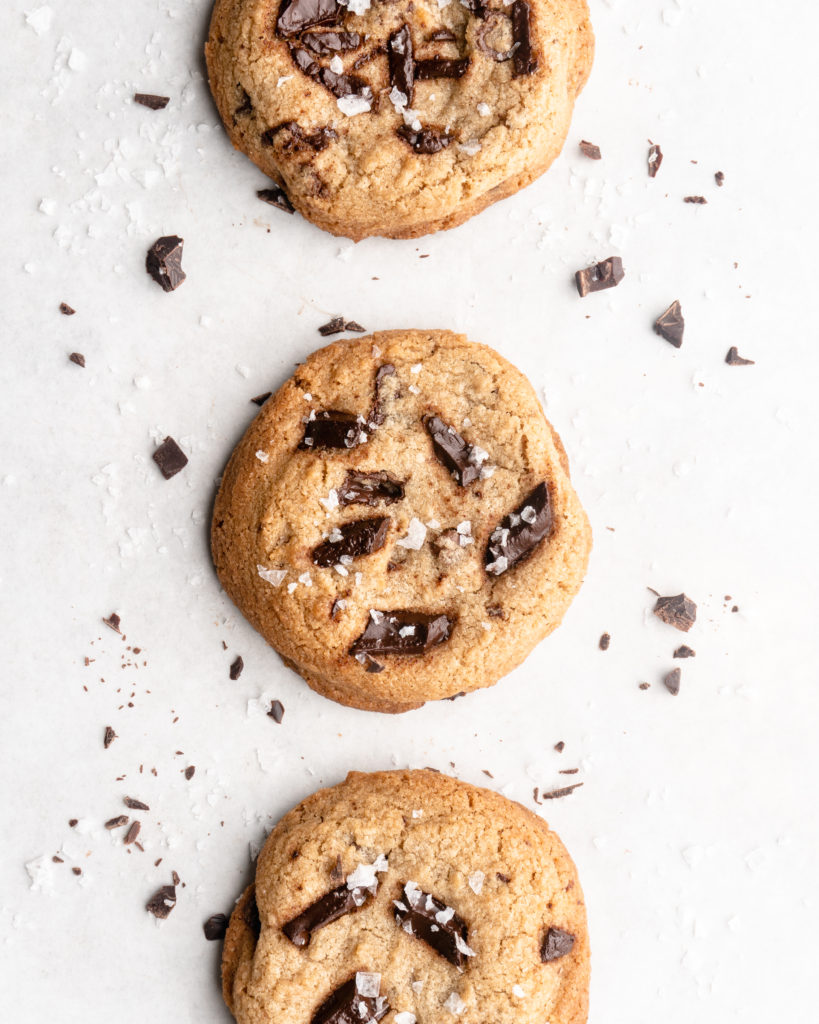
These perfect Chewy Browned Butter Chocolate Chip Cookies are downright amazing. Crispy on the outside with a delectably chewy center, these chocolate chip cookies are what dreams are made of! To me, the perfect cookie should remain soft in the center for days after baking, while still having that initial crunch of the crispy caramelized exterior. These chewy chocolate chip cookies use a combination of ingredients to ensure they are soft, chewy, and tender, while not skimping on any of the flavor!
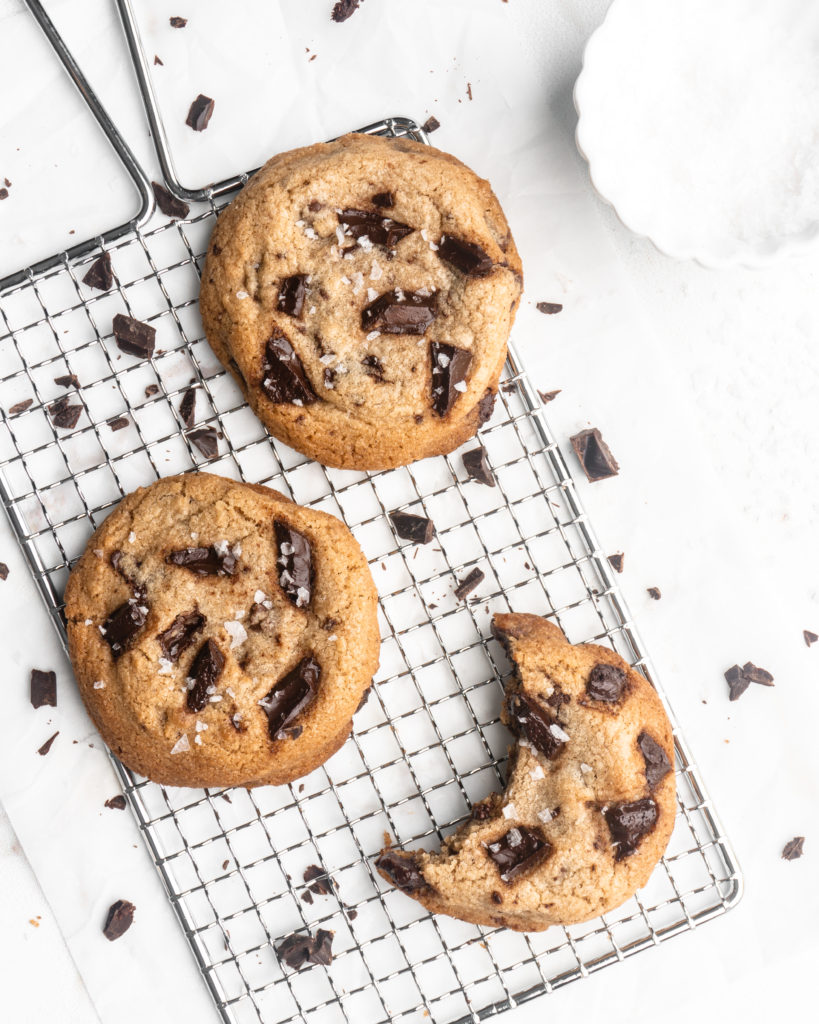
As I stated in the description, to me, the most perfect cookie is one that is soft, chewy, and tender through the center, while still having those delicious crispy caramelized outside pieces. The cookie should also be full of flavor (duh!), truly the cookie of your dreams! And to be honest, a good chocolate chip cookie is sometimes hard to come by! The perfect chewy chocolate chip cookie is achieved not by one ingredient, but the combination of different ones! Brown vs white sugar, AP flour vs bread flour, whole eggs vs yolks, shortening vs butter, and resting vs no resting. Using baking science, and a lot of trial and error, I have developed a recipe that checks all the boxes – chewy, ultra-flavorful, tender, with that slightly caramelized crispy outside. Mmm…
Butter vs. Shortening
As you will see below, I actually used a combination of butter and shortening! I know a lot of people believe that butter is king! And to an extent I agree. Butter provides a whole lot of flavor that neutral, flavorless shortening simply cannot provide. Then why even consider shortening, you ask? Shortening has a much higher melting point than butter, meaning that the flour and eggs have more time to set in the oven before it melts, meaning it can’t spread out as much. What this essentially means is that chocolate chip cookies made with butter are going to be crispier and spread out a lot more, while shortening cookies will retain their shape, be more chewy, and more tender. However, as mentioned above, the benefit of the great texture comes at the cost of loss of flavor, and who wants a flavorless cookie? I decided that I would try to get the best of both worlds, and use both shortening and butter! A lot of the flavor that butter gives to baked goods comes from the caramelization of its milk solids. However, in the typical baking process, these milk solids aren’t caramelized to their full flavor potential. This is where browned butter comes in. In using shortening, and thereby removing ½ of the butters flavor potential, I decided to use browned butter to replace the lost flavor. And boy did it work! These chewy browned butter chocolate chip cookies are so so so flavorful! Browning butter brings out a beautiful deep nutty caramelized flavor, which is absolutely heavenly in cookies!
As a little note, it is important to let the browned butter completely cool before using it. The reasoning for this is two-fold. One, the butter has to be cold so it doesn’t start cooking the eggs or melting the shortening. And two, allowing the butter to resolidify is essential to the creaming process. The creaming process incorporates a lot of air into the dough, which ensures leavening and a chewier chocolate chip cookie!
Bread Flour vs All-Purpose Flour
The type of flour you use makes a huge difference in the texture of the cookie! I know we all like to keep it simple and use AP flour most of the time, however sometimes the need for different flours is really evident. This is one of those times! Bread flour, as many know, has a much higher protein content (gluten) than AP flour. Usually with a lot of baked goods, we don’t want a lot of gluten. But gluten makes things chewy – and we want chewy chocolate chip cookies right? It was a no-brainer to me to use bread flour to achieve a chewier cookie. However, it is still important that we don’t overmix the dough, as we don’t want too much gluten development, or else the cookie will be tough.
Brown Sugar vs White Sugar
Brown sugar provides the cookie with more flavor, thanks to the small amount of molasses, but also provides a great amount of moisture to the cookie, as brown sugar, by nature, has more moisture than white. This additional moisture makes for a chewier cookie. Furthermore brown sugar is acidic, and therefore speeds up gluten production. This causes the dough to set quickly, meaning that it will by thicker and chewier. White sugar, on the other hand, interferes with gluten production, which allows the cookie to spread out more during baking, leading to crispier chocolate chip cookies. However, as we want those delicious crispy outsides, white sugar is also needed. White sugar caramelizes much easier than brown sugar, which not only provides that crispy outside, but also plays a huge role in the overall appearance, and flavor!
Whole Eggs vs Yolks
Eggs play many roles in cookies. The whole egg provides water for gluten development, lecithin which acts as an emulsifier, fat for tenderness, and protein for structure. The extra yolks, however, which are essentially just extra fat, add both color and tenderness to the cookie. This extra fat leads to a richer, flavorful, and more importantly chewier cookie! However, they also aid in the maillard reaction, which allows the caramelization of the cookie, allowing the outside to remain nice and crispy.
Resting vs No Resting
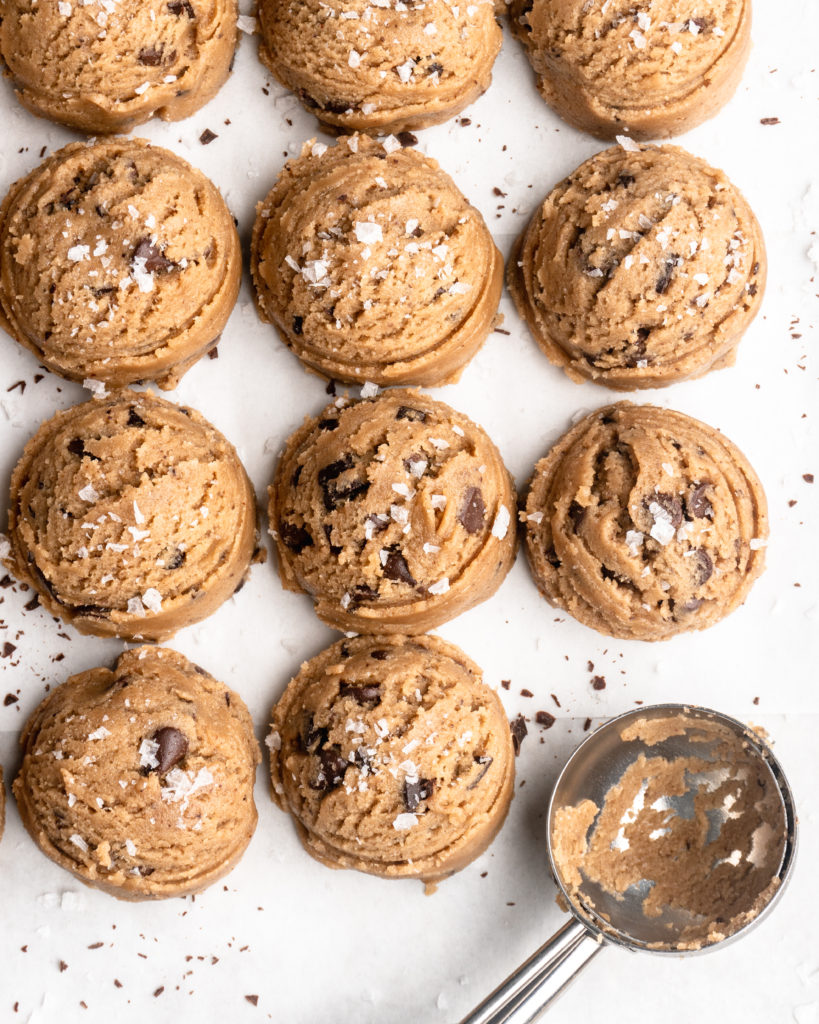
I know that it is tempting to just throw the cookies into the oven when we are done mixing – I mean who wants to wait? But it truly is crucial to the chocolate chip cookies to give them a short little 30 minute resting period. Resting the cookie dough is the finishing touch on all this crazy baking science, and without it the cookies texture will simply be inferior. Allowing the cookie dough to rest has many advantages. The first is that it allows the fats in the dough to solidify and cool. This means that when they enter the oven they are going to spread out WAY less! This will allow the cookie to retain its shape and chewy texture. Furthermore, allowing the dough to rest also gives the sugar and flour a chance to absorb any free floating liquid in the dough. This leads to a more uniform cookie, but also controls spread too (Think more free floating liquid = runnier dough = more spreading)! Chilling the dough also slightly dehydrates the dough, thereby concentrating the flavors in the cookie a bit as well.
Get the Recipe: Chewy Browned Butter Chocolate Chip Cookies
Ingredients
- 1 3/4 cups Bread Flour, measured correctly†
- 1 tsp Baking Soda
- 1 tsp Salt
- 1/2 cup Unsalted Butter, cubed and at room temperature
- 1/2 cup Shortening
- 1 cup Brown Sugar
- 1/2 cup White Sugar
- 1 Egg
- 2 Egg Yolks
- 2 tsp Vanilla
- 1 cup Semi Sweet Chocolate Chips or Chopped Dark Chocolate
- (Optional) Flaky Sea Salt
Instructions
- In a small sauce over medium heat, add butter and bring to a boil. Continue heating over medium heat, constantly stirring until the butter has turned a nutty brown color. It may be hard to see the color if your butter is foaming a lot, so periodically take it off the heat to check the color. Remove from heat, place into a heat proof glass and then into the freezer to cool off for 1 hour.
- In a medium to large sized bowl, add in flour, baking soda, and salt. Whisk well to combine, then set aside.
- In a stand mixer, fitted with the paddle attachment, add shortening and cooled browned butter. Beat on medium-high until well combined. Add in both sugars and beat for 3 minutes, it should look light and fluffy, and expanded in size.
- In a separate bowl, whisk together the egg, yolks and vanilla until smooth, then add to the batter and beat for another 1 minute, scraping at the edges periodically. Add in the flour mixture and mix on low until combined, scraping at the edges. Ensure it is well combined, but do not overmix. Add in the chocolate chips, and fold with a spatula until well dispersed.
- Preheat oven to 375°F. Meanwhile, prepare a baking sheet with parchment paper. Using your hands or a scoop, arrange cookies to be about 2 tbsp each. Place all the cookies onto the baking sheet (do not worry about arrangement yet), sprinkle with sea salt if using, and place into the freezer for 30 minutes to rest (don’t skip, see above!)
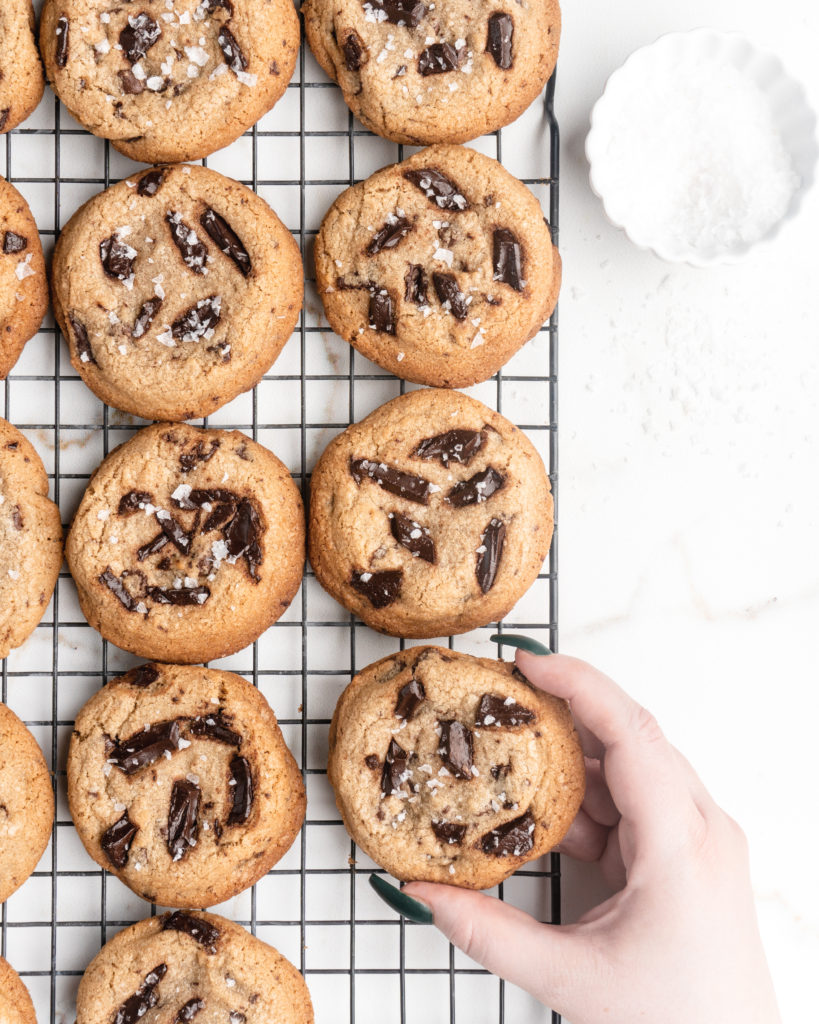
- Remove baking sheet from the freezer, and arrange cookies evenly onto 3 baking sheets fitted with parchment paper (I do 8-9 per sheet). Place into the oven and bake for 9-11 minutes.
- Note: If baking in batches, keep cookies cold before baking by keeping them in the fridge.

Pingback: Chewy Brown Butter Chocolate Chip Cookies - Food Duchess