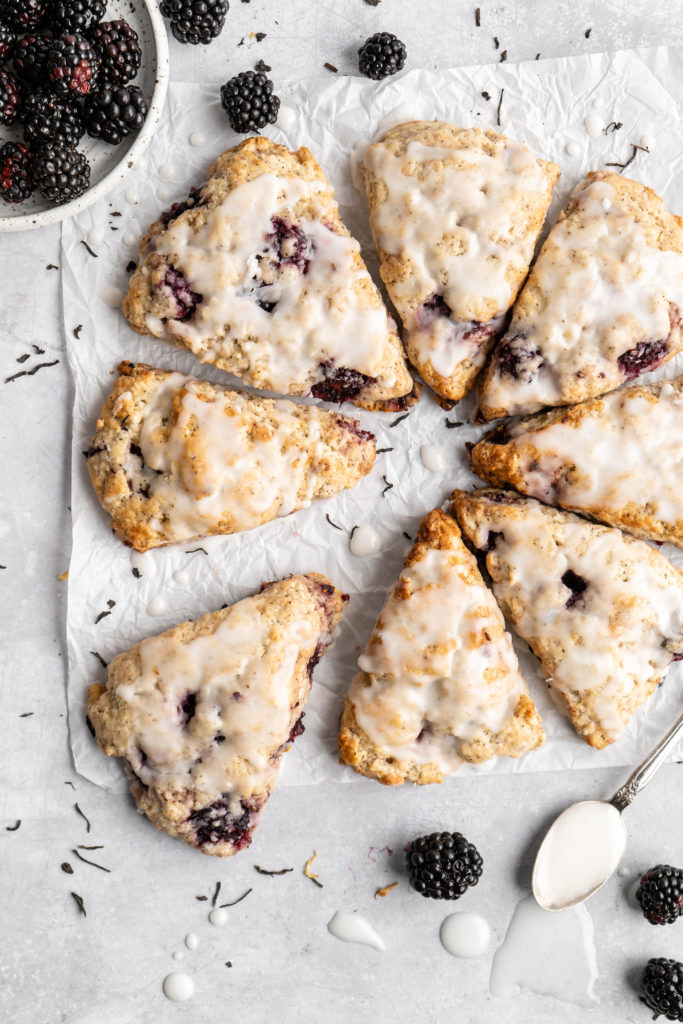
Blackberry Earl Grey Scones
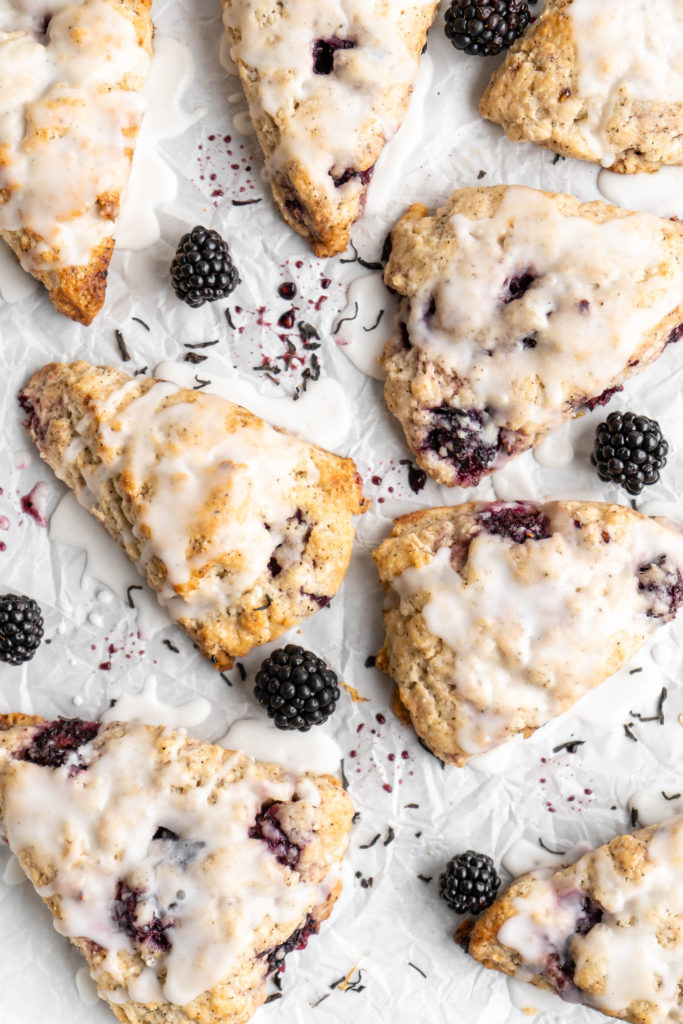
Made with fresh blackberries and flavourful earl grey tea, these Blackberry Earl Grey Scones are an awesome treat for any earl grey lover! These glazed scones are unbelievable soft, flaky, and moist, and have a ton of rich bergamot and fruity flavor! Serve with tea or enjoy with a little clotted cream or butter!
Why You’ll Love this Recipe
- These blackberry scones are made with real earl grey tea. I used earl grey tea bags from Tazo.
- These earl grey scones are made with rich butter and heavy (whipping) cream, making the scones soft, moist and flaky.
- Scones are a rather easy recipe – great for bakers of all levels!
- These earl grey scones feature earl grey tea steeped milk, as well as loose earl grey tea in the scone dough.
- They are made with fresh blackberries.
- These scones also have a hint of lemon, thanks to the lemon zest and juice in the dough.
- They are a perfect recipe to make when you have cold butter.
Ingredient Notes
Earl Grey Tea: The earl grey tea is added straight to the dough, as well as steeped in the cream, ensuring maximum earl grey flavor to the blackberry scones!
Blackberries: Fresh, plump blackberries are added to the scones. The blackberries are the perfect complement to the earl grey flavor!
Cold Butter: Extra cold butter is what creates those perfect flaky layers in the scones.
Heavy Cream: Heavy cream added fat and moisture to the dough, making the scones extra soft.
How to make Blackberry Earl Grey Scones
1) Steep earl grey tea in cream: Heat up the cream in a small saucepan until just beginning to bubble. Place earl grey tea bags in, then place into the fridge to steep and cool for 2 hours.
2)Whisk dry ingredients: Add flour, sugar, baking powder, salt, and tea to a large bowl, then whisk to combine.
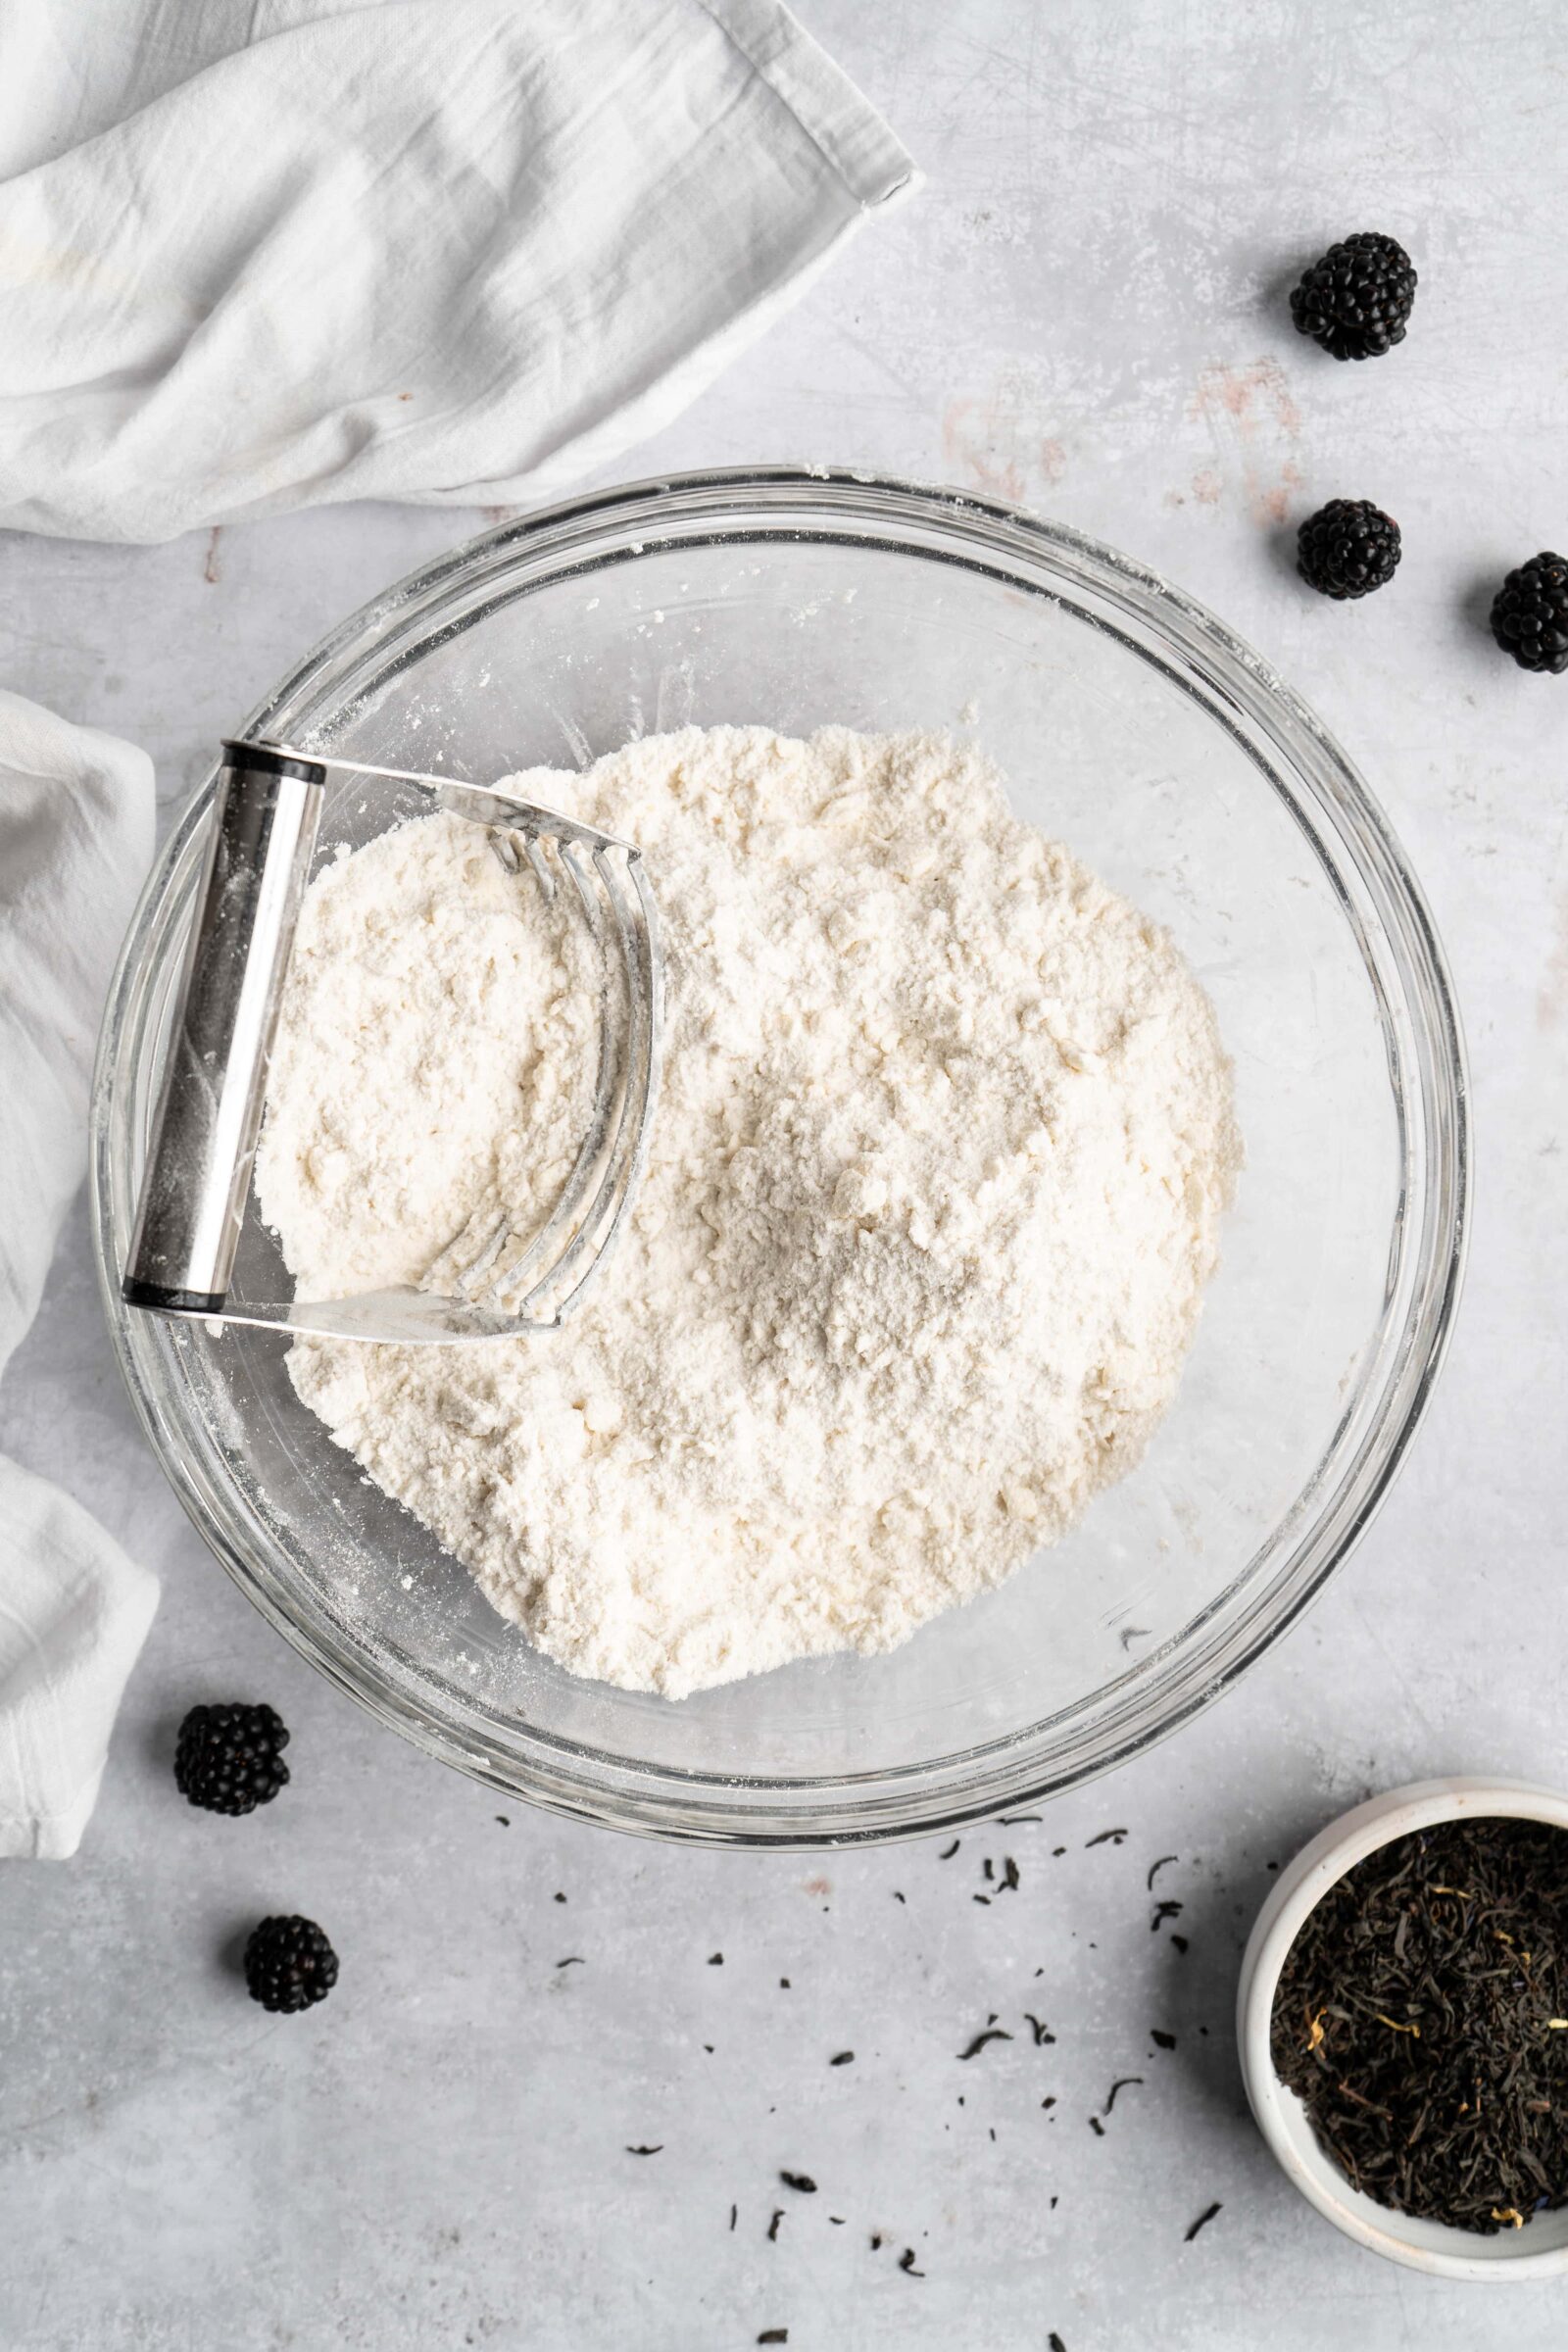
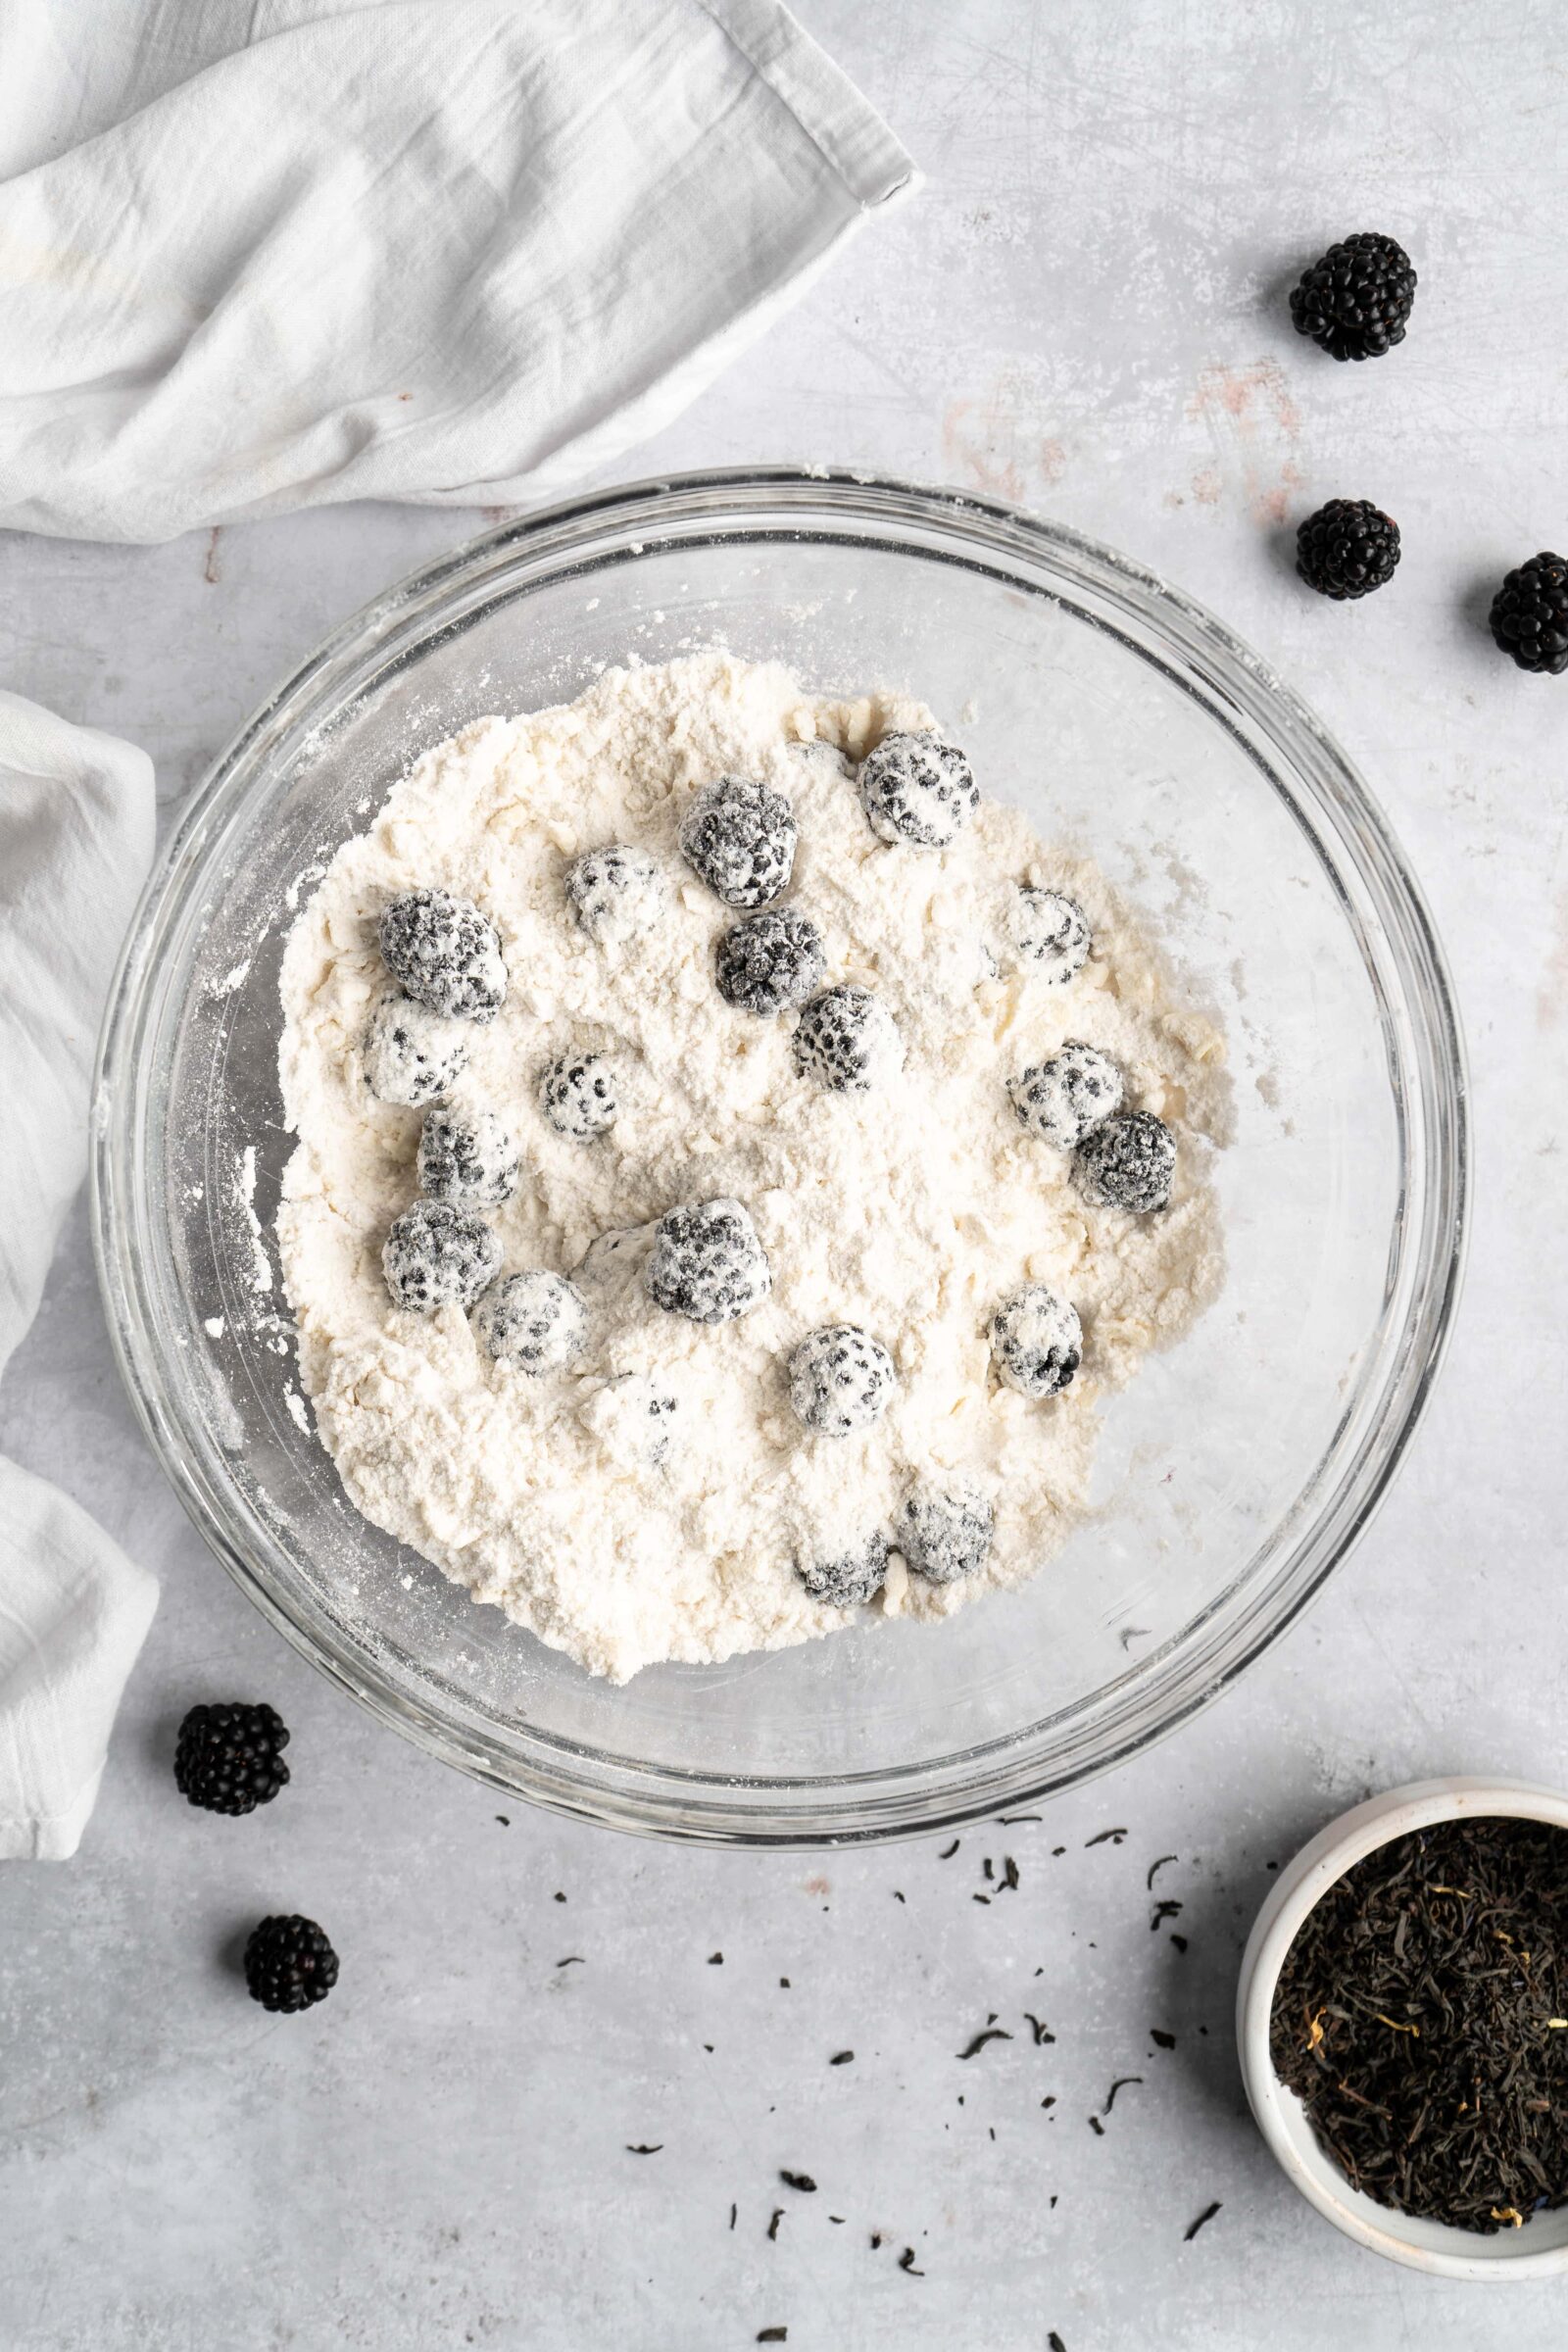
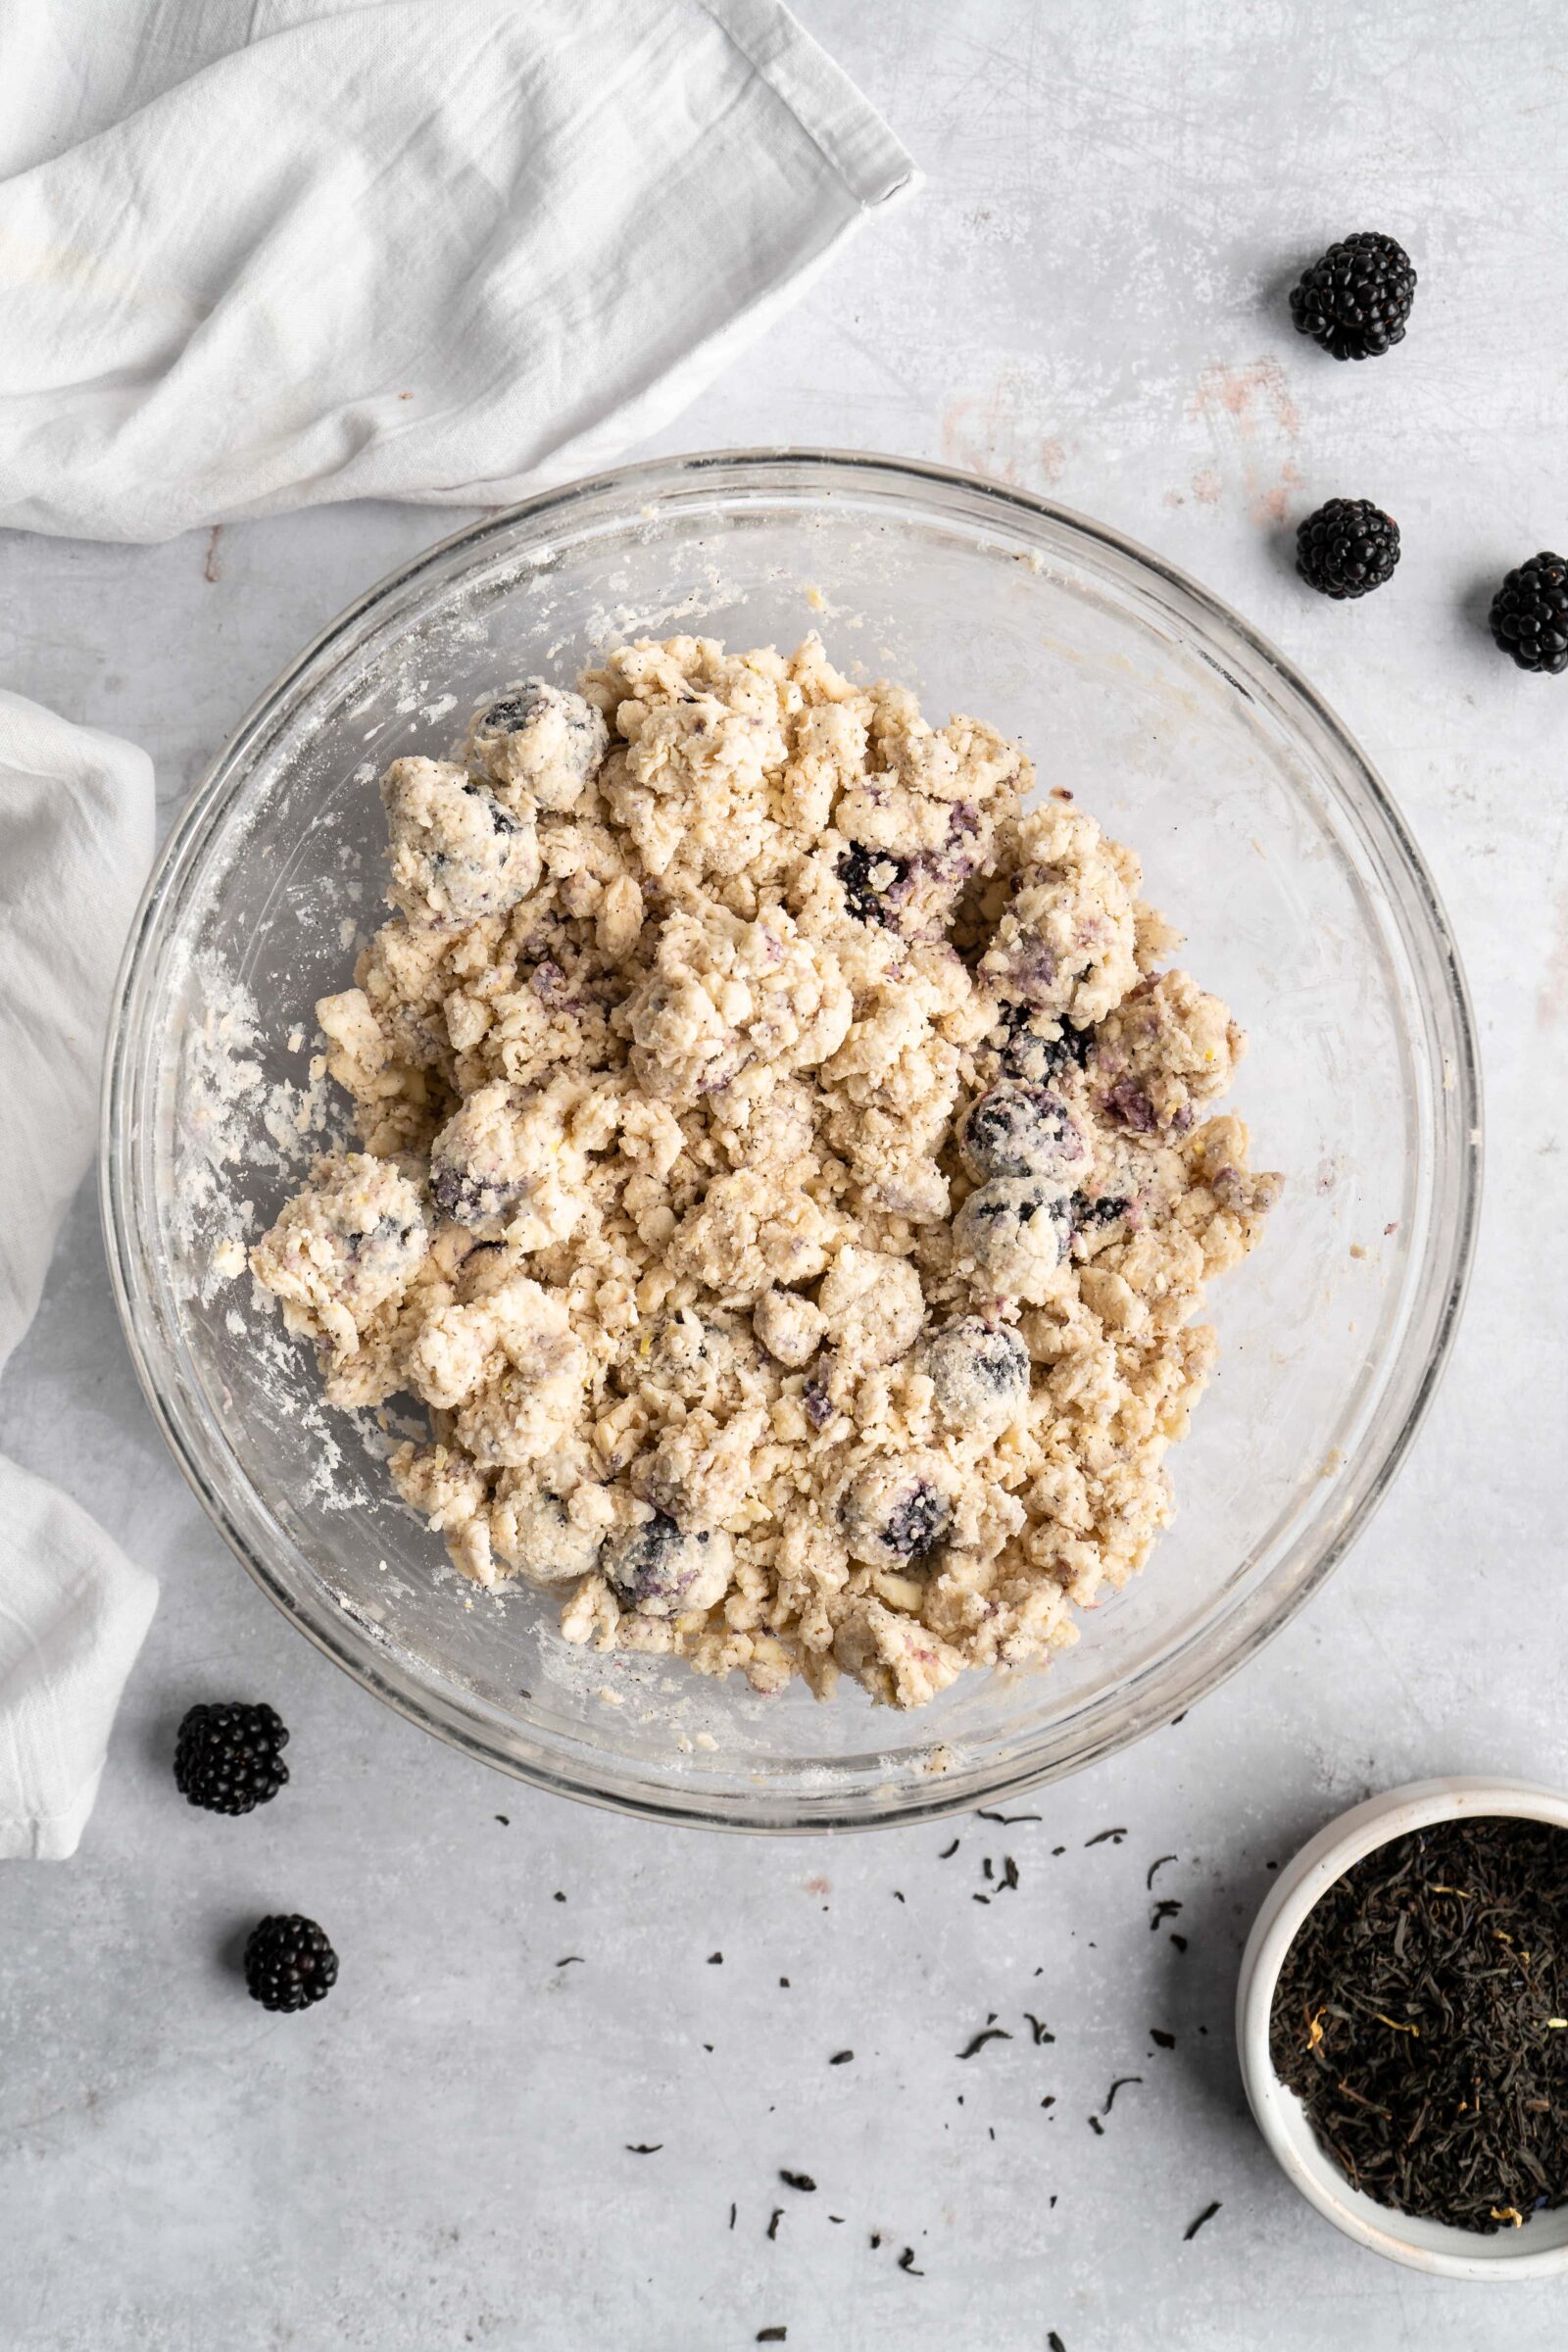
3) Cut in butter: Add the cubed cold butter, then using your hands or a pastry cutter, cut the pieces of butter up until they are all around the size of peas (some can be larger, just don’t go too small). For this process I like to start with my hands, pinching the butter pieces between my fingers to break them up. Then I typically finish with the pastry cutter, using it to break the butter up to generally the same size. Toss in the blackberries.
4) Add cream: Drizzle the heavy cream, lemon juice, and vanilla over. I like to use a fork for this at first, tossing/mixing as I drizzle the cream in. Then I switch to my hands after the dough just begins to form, as I find it better disperses the liquid everywhere, and then I can also begin to shape the dough in the bowl.
5) Shape dough: Using your hands, begin forming the dough in the bowl. When you feel like the dough has begun to come together, turn it out onto a floured work surface, and Pat the dough into a disc shape.
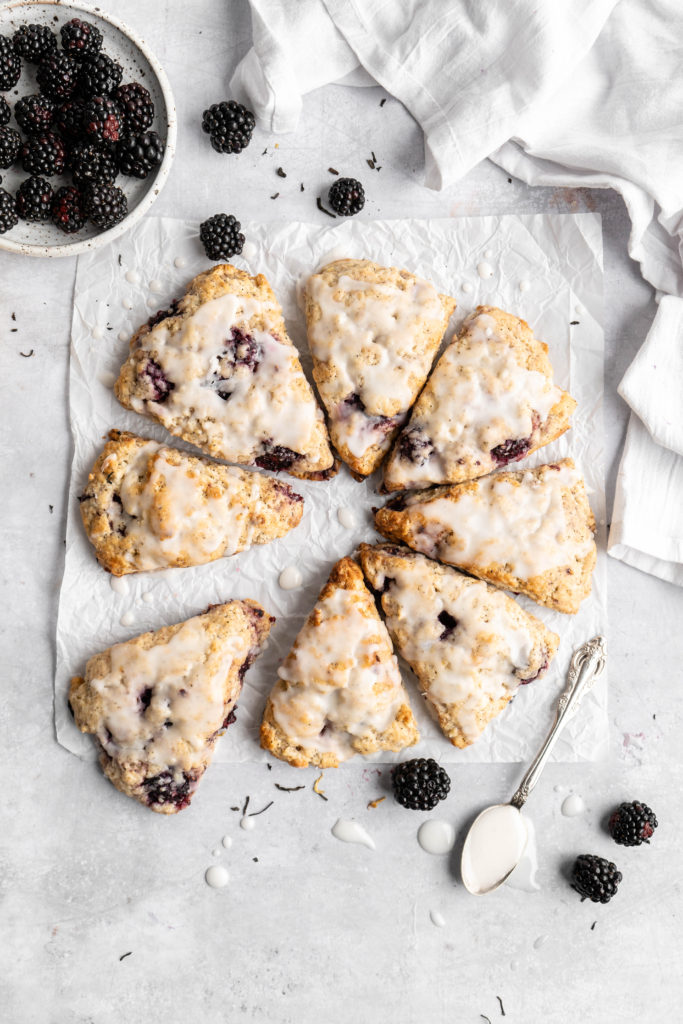
6) Cut dough and refrigerate: Using a knife or a bench scraper, cut the scones into 8 pieces. Place these pieces onto a lined baking sheet, cover in plastic, and place in the fridge for 30 minutes to an hour.

7) Bake: Remove the scones from the fridge, brush with additional heavy cream, and immediately place into the oven to bake.
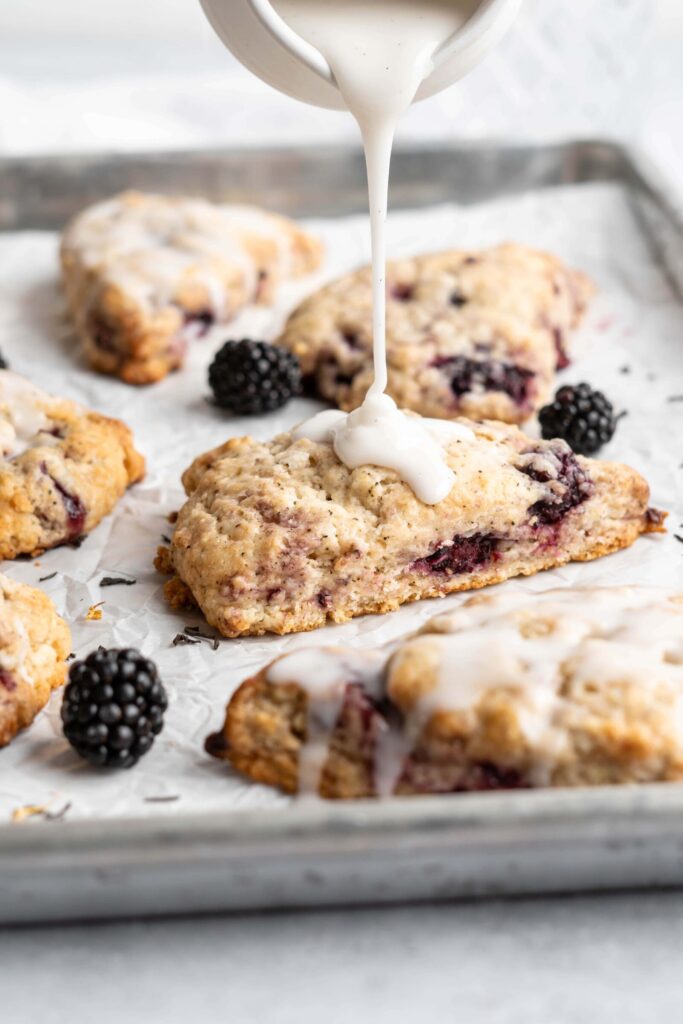
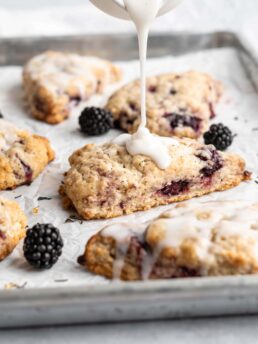
8) Glaze: When cooled, glaze the blackberry earl grey scones.
Tips & Tricks
Use cold butter. Cold butter is essential for creating a flaky scone. Without cold butter the scones would be dense.
Refrigerate the cut scones. After the dough has come together and been shaped and sliced into individual scones, place these scones into the fridge for 30 minutes to an hour. This does two things: 1) allows the flour to absorb the cream, leading to softer scones, and 2) allows the butter to fully re-harden, which is essential to creating the flaky scone layers.
Brush the tops with more cream. Brushing the tops of the scones allows the scone to get that beautiful golden top, similar to what an egg wash does for a pie.
Don’t overbake. Make sure to keep an eye on the sconed near the end of the bake time. They are done right when the edges have goldened.
Don’t overwork the scone dough. Over-mixing/over-kneading/over-handling the dough can be detrimental to scones. It can lead to excess gluten development, leading to tough scones, as well it can also warm the butter up too much, leading to a dense scone.
If working in a hot kitchen, start with frozen butter, to ensure the butter doesn’t soften too quickly.
Keep the scones cold until they are ready to be baked.

Equipment Required
No special equipment is required! I do like to use a pastry cutter for the scones, but you can also just use your fingers.
How to Store the Scones
The baked scones can be stored at room temperature in a Ziploc bag or airtight container for 2 days.
The cut scone dough can be kept in the fridge for 1 day. Just ensure it is covered in plastic to prevent them from drying out.
The cut scone dough can be frozen for 1-2 months. Place them on a baking sheet, cover with plastic, then place into the freezer. Once fully frozen, place frozen scones into an airtight container or freezer bag.
FAQ
I use Tazo Earl Grey Tea.
While the dough should be shaggy looking, it should still loosely come together. If it doesn’t want to come together, you can add more heavy cream, 1 tsp at a time until it comes together.
You can slowly add more flour to the dough until the dough becomes less sticky. You may have more fluffy, and less flaky defined looking scones at the end.
Yes you can, however I find using your hands or a pastry cutter is just as easy, and requires less clean up.
This is likely caused by too much handling and kneading of the dough.
Variations
Blueberry: Sub out the blackberries for blueberries.
No fruit: These earl grey scones can be made with or without the blackberries. It’s all up to your preference. Simply just exclude the blackberries.
Lavender: Add 1-2 tsp of dried lavender buds in with the dry ingredients.
Related recipes
Earl Grey Salted Caramel Cupcakes
Get the Recipe: Blackberry Earl Grey Scones
Ingredients
Blackberry Earl Grey Scones
- 3/4 cup (172g) Heavy Cream,, plus more if needed
- 4 Earl Grey Teabags,, divided
- 2 ½ cups (300g) All-Purpose Flour
- 1/2 cup (100g) White Sugar
- 2 tsp Baking Powder
- 1/2 tsp Salt
- Zest of 1 Lemon
- 7 tbsp (100g) Cold Unsalted Butter,, cut into small cubes
- 1 ½ tsp Vanilla
- Juice of 1 lemon
- 3/4 cup (115g) Fresh Blackberries
- 1 tbsp Heavy Cream,, for brushing
Vanilla Glaze
- 1 cup (120g) Confectioners Sugar
- 3-4 tbsp Heavy Cream
- 1/2 tsp Vanilla
Instructions
Making the Dough
- Add cream to a small saucepan over medium heat. Heat until just beginning to bubble. Place 3 earl grey tea bags in, then place into the fridge to steep and cool for 1 hour. After the 1 hour, remove the tea bags, squeezing them to get all the steeped cream out of them, then place the steeped cream back in the fridge for another hour, or until cold.
- Prepare a large baking sheet with parchment, a silicone baking mat, or simply a light coating of cooking spray. Then, in a large mixing bowl, add flour, sugar, baking powder, salt, lemon zest and contents of 1 teabag. Whisk well to combine. Add in cold butter cubes, and work the butter into flour with your hands or a pastry cutter. Work the butter until it is crumbly and about the size of peas (it is okay if some larger ones remain, just don’t go too small). Add in the blackberries, and toss to disperse and cover in flour.
- Add lemon juice and vanilla to the steeped cream and stir to combine.
- Drizzle cream mixture over the bowl, tossing with a fork as you drizzle, until combined into a shaggy dough. After the liquids have been added and mixed, try to form all of the dough together. If the dough does not all come together, and there are crumbs at the bottom of the bowl, then keep adding heavy cream in small increments until the crumbs comes together with the rest of the dough (the dough should still be shaggy looking – too much liquid will activate the gluten, so we don’t want that). When the dough all comes together into shaggy dough it is ready to be turned out onto a well-flour work surface.
Shaping, Cutting, and Resting
- Pat the dough to get it to form a smooth 6-7” disk, that is about 1” thick (Make sure every once in a while that you are ensuring that the dough isn’t sticking to your work surface). Using a bench scraper or a knife, cut the dough into 8 equal pieces. Then, transfer the wedges, spaced apart, onto the prepared baking sheet, and place into the refrigerator for at least 30 minutes. Preheat the oven to 400°F.
Baking the Scones
- Remove scones from the fridge, brush the tops with more heavy cream, and place into the preheated oven, and bake for about 18-22 minutes, or until turning golden around the edges. Transfer to a cooling rack and allow to cool completely before glazing.
Vanilla Glaze
- Add all of the ingredients to a medium mixing bowl, then whisk until smooth and combined. Spoon glaze over cooled scones.