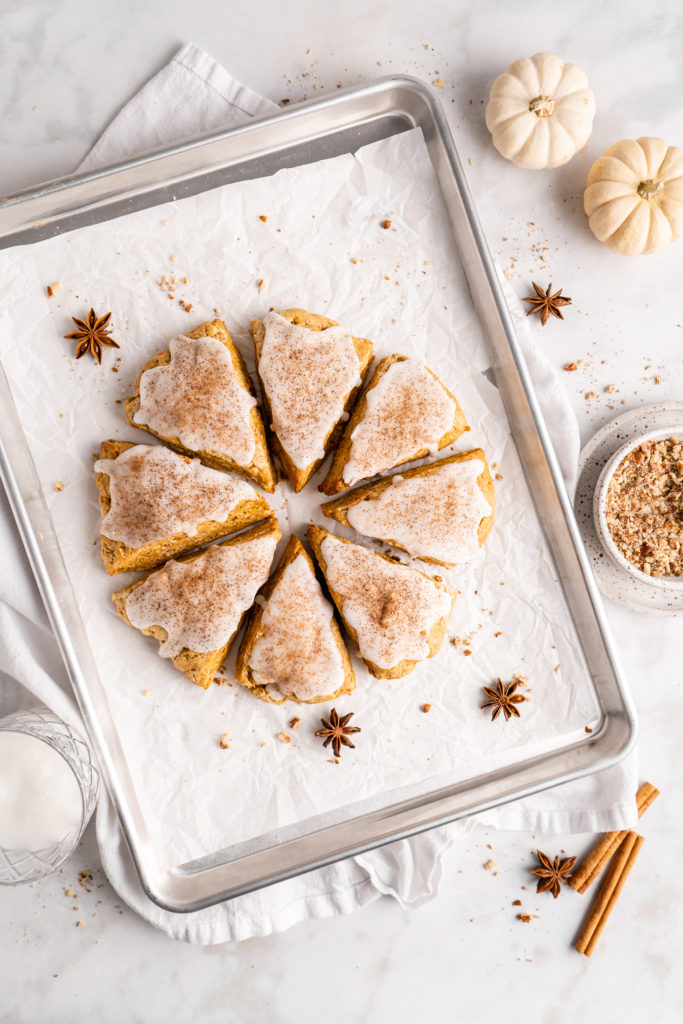
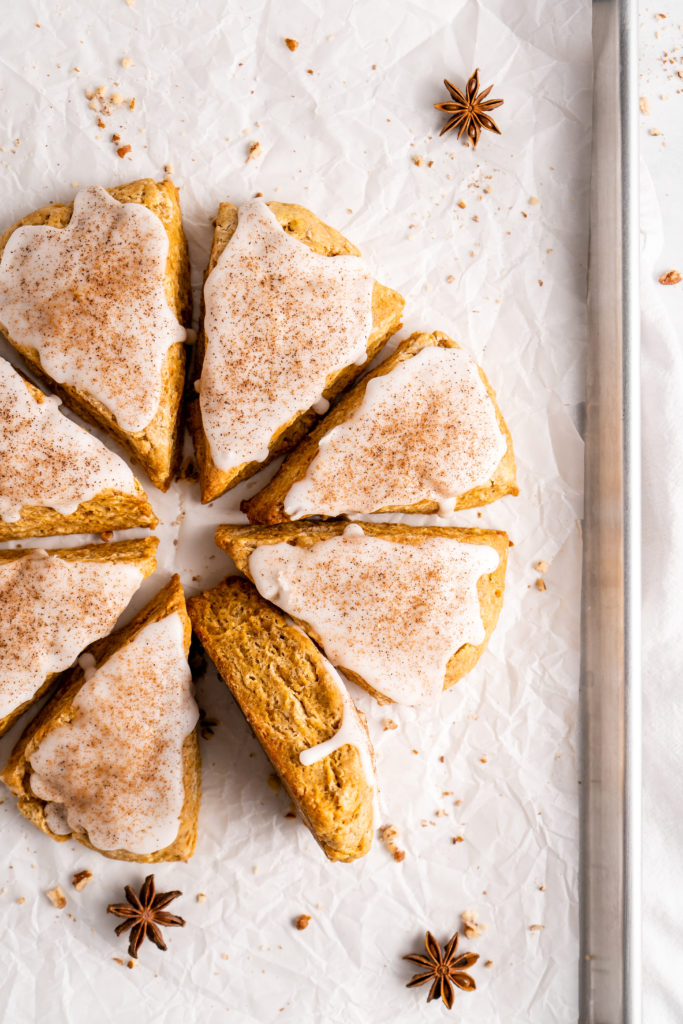
Chai Pumpkin Scones
These incredible chai-spiced pumpkin scones are full of warm aromatic flavour, and are perfectly flaky in texture. These scones are made with an array of cozy chai spices, including cinnamon, cloves, and cardamom. These scones are full of several flaky layers, while simultaneously being extremely moist!
USING THE RIGHT INGREDIENTS
FLOUR
Making these Chai Pumpkin Scones starts with using the right kind of flour. In this recipe I utilized both pastry flour and All-Purpose Flour. When making scones, or many different type of pastries, you want a flaky and tender final product. This is achieved with pastry flour, which has about 8-9% gluten content. Although less gluten provides a tender dough and final product, it also comes at the cost of structure. This is why I mix AP flour in as well. The AP flour’s higher gluten content provides the little networks of structure needed to hold the scone together. By mixing these two flours, the Chai Pumpkin Scones will be tender, flaky, and most importantly – not falling apart!
BUTTER
The butter must be cold. I repeat – the butter must be COLD! It is absolutely crucial in making these Chai Pumpkin Scones that the butter has to be very cold. I personally actually use butter that is straight out of the freezer, so that it remains cold enough while I work it with my hands. Cold butter is what creates all those flaky delicious layers in the scones. This happens due to butters physical make-up. Butter is about 80-82% milk fat, and 16-17% water! So when the dough, with its multiple layers of the cold chunks of butter, hits the hot oven, the water in the butter quickly evaporates off, leaving little air pockets in the dough, creating those wonderful flaky layers! As such, if the butter is too warm, it will ‘cream’ with the batter, leaving no little air pockets, leading to a dense solid pastry.
The Pumpkin Puree
The pumpkin puree, like the butter and heavy cream, should be cold! This just ensures that it doesn’t heat the scones up in anyway – ensuring the finished chai pumpkin scones are nice and flaky. Any brand of pumpkin puree is fine! Just ensure that it is pumpkin puree and NOT pumpkin pie filling.
MAKING THE Chai Pumpkin Scones
FIRST STEPS
Making these scones is quite easy, although it is a little bit of a messy job and requires a little bit of elbow grease! Start by adding both flours, sugar, baking powder, salt, and spices to a large bowl, then whisk to combine. Add the cubed cold butter, then using your hands or a pastry cutter, cut the pieces of butter up until they are all around the size of peas (some can be larger, just don’t go too small). For this process I like to start with my hands, pinching the butter pieces between my fingers to break them up. Then I typically finish with the pastry cutter, using it to break the butter up to generally the same size.
SHAPING AND CUTTING THE SCONES
Now, we add the cold heavy cream and cold pumpkin puree, then stir to combine. I like to use a fork for this at first, and then switch to my hands after the dough just begins to form, as I find it better disperses the liquid everywhere, and then I can also begin to shape the dough in the bowl.
Using your hands, begin forming the dough in the bowl. The dough should be quite shaggy, but it should still come together. If you need more liquid, slowly add more cold heavy cream in small increments until the dough comes together better. When you feel like the dough has begun to come together, turn it out onto a flour work surface.
Begin patting the dough into a disk shape (try not to play or knead the dough too much as you will activate the gluten). Once in a disk shape that is 6-7” in diameter and 1” thick, cut the disk up like a pie, forming 6 equal pieces.

30 MINUTE RESTING PERIOD
Next, place the scones onto a plate or baking sheet with parchment, and place into the fridge for a 30-minute resting period. The purpose of this resting period is two-fold. One, it allows can activated gluten to relax. Two, it allows the flour to properly hydrate, lending a better final mouth-feel. And three, it allows the butter to resolidify – which of course will lead to those little air pockets and a flaky final product.
BAKING THE Chai Pumpkin Scones
Remove the scones from the fridge, arrange them evenly onto a parchment lined baking sheet, brush the tops with heavy cream, and place into the oven for about 20-22 minutes! The scones should look golden on top. After the Chai Pumpkin Scones come out of the oven, transfer them onto a cooling rack and allow to cool completely before glazing.

Get the Recipe: Chai Pumpkin Scones
Ingredients
Chai Pumpkin Scones
- 1 ½ cups (180g) All-Purpose Flour,, measured correctly†
- 1 cup (120g) Pastry Flour,, measured correctly†
- 1/2 cup (110g) Light Brown Sugar
- 2 tsp Baking Powder
- 1/2 tsp Salt
- 1 tsp Cinnamon
- 3/4 tsp Ground Ginger
- 1/4 tsp Ground Cloves
- 1/4 tsp Cardamom
- 1/4 tsp Nutmeg
- 7 tbsp (100g) Cold Unsalted Butter,, cut into small cubes
- 2/3 cup (150g) Cold Pumpkin Puree
- 1/3 cup (76g) Cold Heavy Cream,, plus more if needed
- 1 ½ tsp Vanilla
- 1 tbsp Heavy Cream,, for brushing
Vanilla Glaze
- 1 cup (120g) Confectioners Sugar
- 3-4 tbsp Heavy Cream
- 1/2 tsp Vanilla
- Cinnamon and ground cloves, for sprinkling
Instructions
Carrot Cake Scones
Making the Dough
- Prepare a large baking sheet with parchment, a silicone baking mat, or simply a light coating of cooking spray. Then, In a large mixing bowl, add both flours, brown sugar, baking powder, salt and spices. Whisk well to combine. Add in cold butter cubes, and work the butter into flour with your hands or a pastry cutter. Work the butter until it is crumbly and about the size of peas (it is okay if some larger ones remain, just don’t go too small).
- Add pumpkin puree and vanilla to the heavy cream and stir to combine.
- Add pumpkin-cream mixture to bowl and stir until combined into a shaggy dough. After the liquids have been added and mixed, try to form all of the dough together. If the dough does not all come together, and there are crumbs at the bottom of the bowl, then keep adding heavy cream in small increments until the crumbs comes together with the rest of the dough (the dough should still be shaggy looking – too much liquid will activate the gluten, so we don’t want that). When the dough all comes together into shaggy dough it is ready to be turned out onto a well-flour work surface.
Shaping, Cutting, and Resting
- Pat the dough to get it to form a smooth 6-7” disk, that is about 1” thick (Make sure every once in a while that you are ensuring that the dough isn’t sticking to your work surface). Using a bench scraper or a knife, cut the dough into 6-8 equal pieces. Then, transfer the wedges, spaced apart, onto the prepared baking sheet, and place into the refrigerator for at least 30 minutes. Preheat the oven to 400°F.
Baking the Scones
- Remove scones from the fridge, brush the tops with more heavy cream, and place into the preheated oven, and bake for about 20-22 minutes, or until turning golden brown. Transfer to a cooling rack and allow to cool completely before glazing.
Vanilla Glaze
- Add all of the ingredients to a medium mixing bowl, then whisk until smooth and combined. Spoon glaze over cooled scones, then sprinkle with some cinnamon and ground cloves.