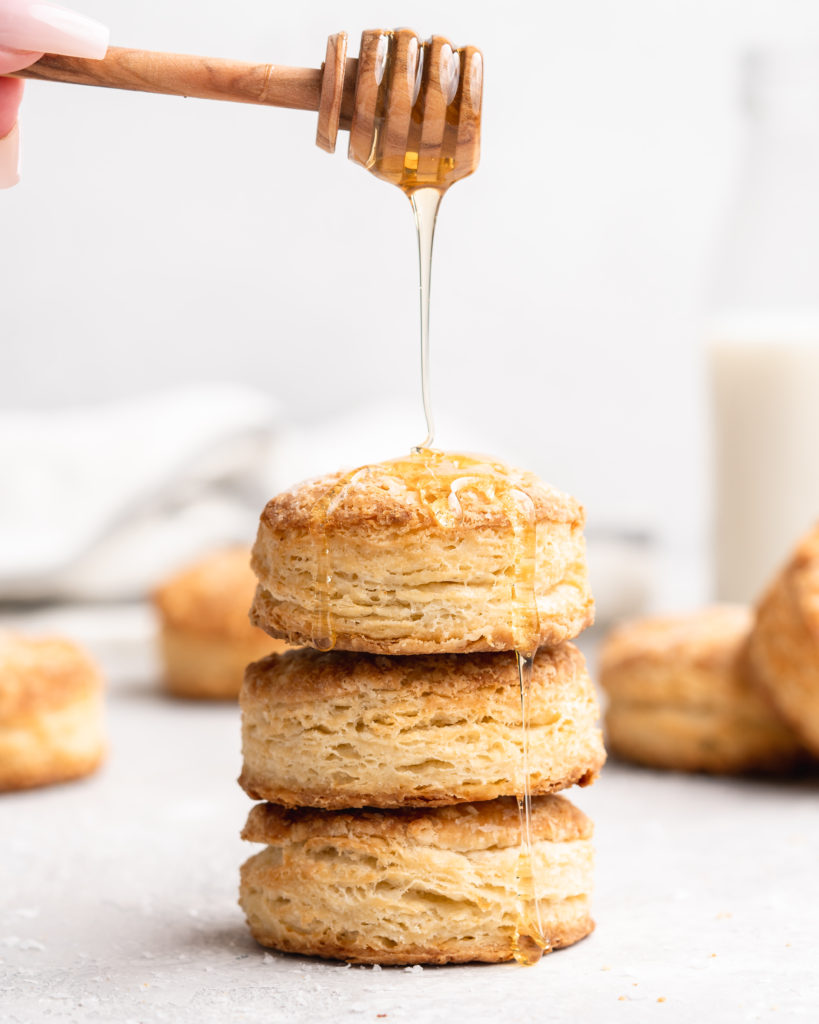
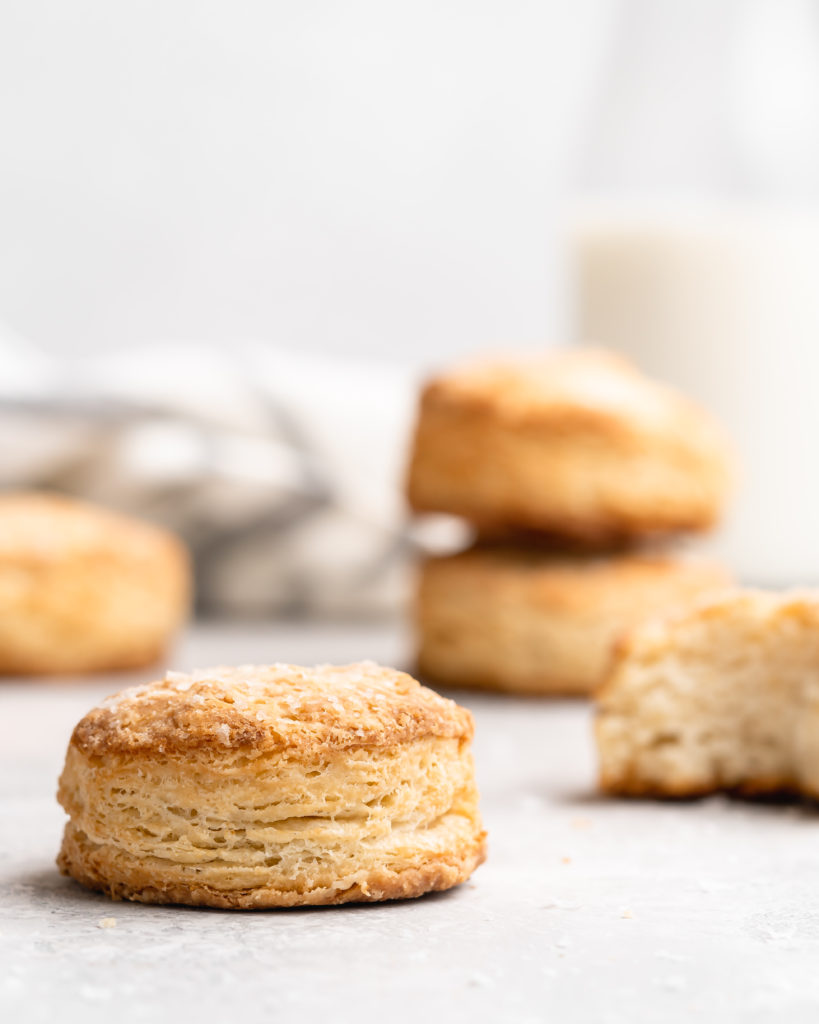
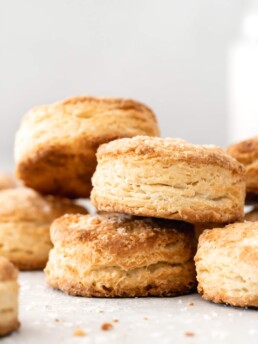
Super Flaky Buttermilk Biscuits
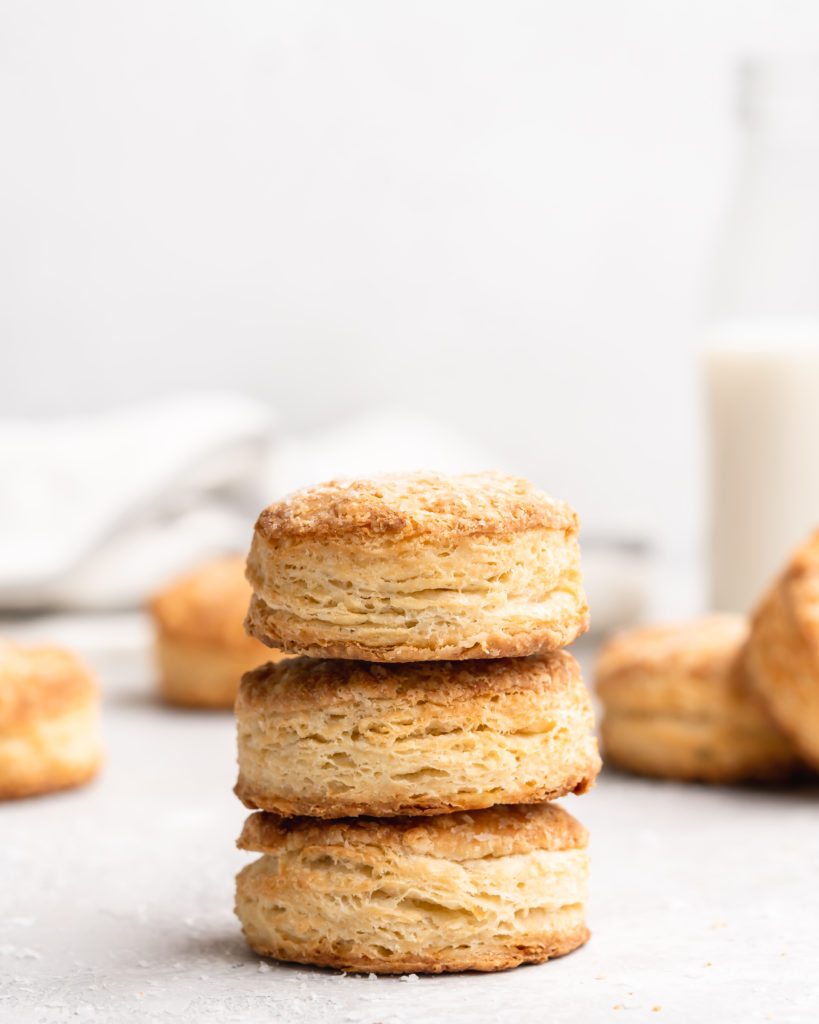
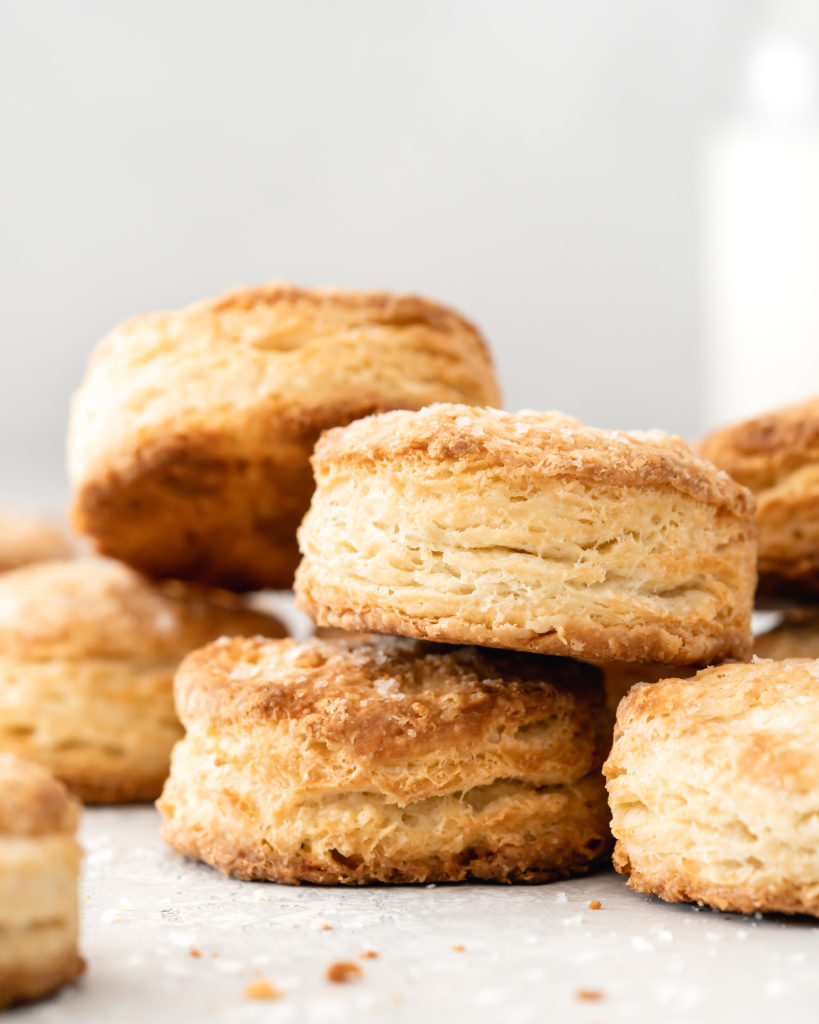
What is more classic and delicious that Buttermilk Biscuits? There’s just something about all those buttery, ultra flaky layers that just makes my heart sing! These Super Flaky Buttermilk Biscuits are an adaptation of the Bon Appetit recipe, and they feature a certain technique that involves rolling and stacking the layers on top of each other, creating an innumerable amount of biscuit layers! This results in a Buttermilk Biscuit that not only is super tender and flaky, but one that has visible layers and amazing rise!
The Butter
It is absolutely crucial that very cold butter is used. In fact, I actually use frozen butter to ensure that the butter stays cold up against the room temperature, and my warm hands. Cold butter is essential to any pastry dough, such as croissants, pie, puff pastry, etc. This is because the cold butter is what creates all those flaky delicious layers in the baked good. This happens due to butters physical make-up. Butter is about 80-82% milk fat, and 16-17% water! So when the dough, with its multiple layers of the cold chunks of butter, hits the hot oven, the water in the butter quickly evaporates off, leaving little air pockets in the dough, creating those wonderful flaky layers! As such, if the butter is too warm, and mixes cohesively with the batter, there will not be any spots with air pockets created, leading to a dense solid biscuit.
Making the Buttermilk Biscuits
First Steps
Making these buttermilk biscuits is quite easy, although it is a little bit of a messy job and requires a little bit of elbow grease! Start by adding the flour, sugar, baking powder, baking soda, salt, and the cubed cold butter to a large bowl. Using your hands or a pastry cutter, cut the pieces of butter up until they are all around the size of peas. For this process I like to start with my hands, pinching the butter pieces between my fingers to break them up. Then I typically finish with the pastry cutter, using it to break the butter up to generally the same size. Now, slowly add the cold buttermilk, mixing the mixture around with a fork as you drizzle. then, using your hands, begin forming the dough in the bowl by kneading the dough a few times. Stop kneading once the dough has began to come together (it will look quite dry and shaggy still though!).
Shaping and Rolling the Buttermilk Biscuits
Pour the shaggy dough onto a floured work surface, and begin patting it into a 1” thick square. Using a bench scraper makes it easier to get your sides straight and even. Next, using a knife or a bench scraper, cut the dough into 4 equal pieces, then stack them one on top of another, until you are left with a dough tower. Use your hands to flatten your dough tower down. When the dough has been flattened enough that you can roll it again, begin to roll it out into a 1” thick rectangle.
Cutting the Buttermilk Biscuits
Using a round cookie cutter, cut the dough into 12 circles. It is important that when you are cutting the dough that you push straight down evenly. Do not wiggle the cookie cutter at all – as this will cause the buttermilk biscuits to rise less and be less flaky. After all the pieces have been cut, place them onto a parchment lined baking sheet and place into the fridge.
The 30 Minute Resting Period
These Buttermilk Biscuits require a short 30 minute resting period in the fridge. This resting period has 3 functions. The first is that it allows the butter to get cold again, and any melted butter to re-solidify, making sure these buttermilk biscuits come out nice and flaky. Secondly, this resting period also allows any gluten that was formed during the whole process, to relax, ensuring the buttermilk biscuits are tender, and that the biscuits can rise without being restricted by the gluten structures. And lastly, the resting period also allows the flour to properly hydrate with the liquids in the dough. Proper hydration of the flour not only softens the flour, but also eliminates any grittiness in the flour, resulting in a smoother mouth-feel.
Baking the Buttermilk Biscuits
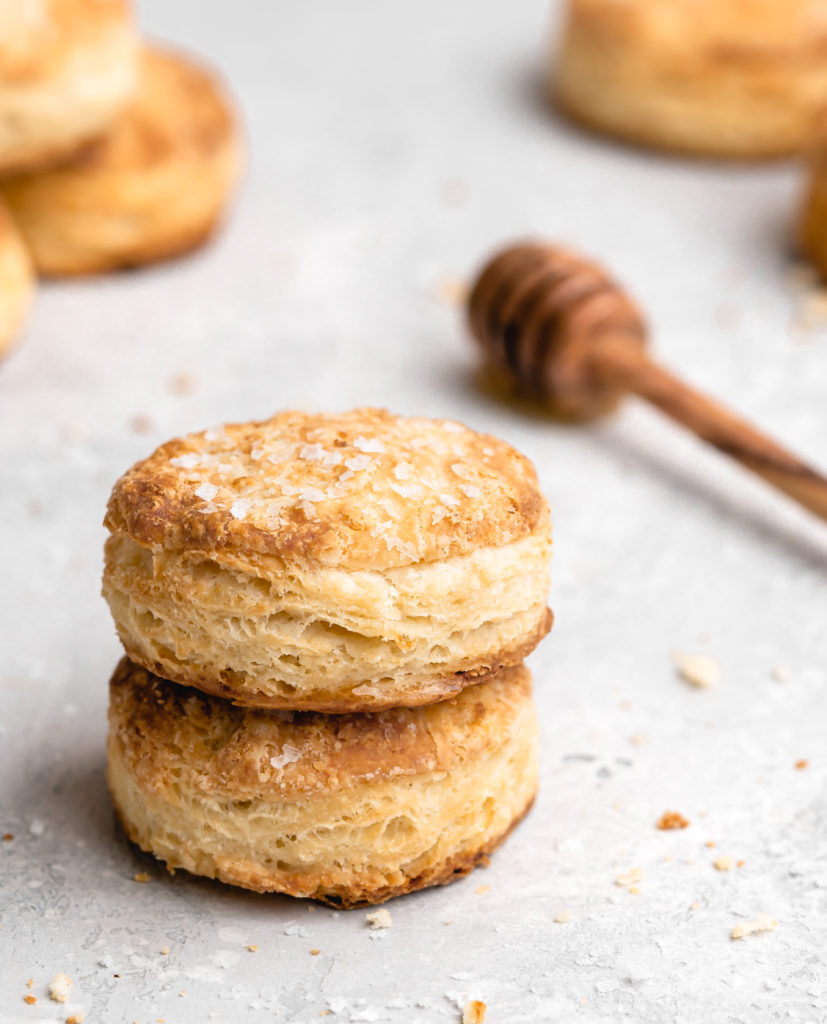
After the 30 minute resting period, remove the buttermilk biscuits from the fridge and quickly brush the tops with melted butter, and sprinkle with a little extra salt, then place into the hot 425 °F oven. Immediately turn the oven down to 400°F, and bake for about 20 minutes, or until they begin turning golden on top.
The purpose of placing the buttermilk biscuits into a higher temperature oven and immediately turning down the heat is that it creates a more flaky biscuit without overcooking them. By placing the biscuits in a super hot oven, the butter rapidly heats up and the water within the butter quickly evaporates away, thereby creating those lovely little air pockets that make the buttermilk biscuits so flaky. However, if we baked the biscuits the entire time at this temperature, the bottoms and tops would likely burn before the insides were properly cooked – therefore the oven temperature is reduced to prevent burning and uneven baking.
Get the Recipe: Super Flaky Buttermilk Biscuits
Ingredients
- 3 ½ cups All Purpose Flour,, properly measured †
- 2 tbsp White Sugar
- 2 ½ tsp Baking Powder,
- 1 ¾ tsp Salt
- 1/4 tsp Baking Soda
- 1 cup Cold Unsalted Butter,, cut into cubes
- 1 cup Cold Buttermilk
- 2-3 tbsp Melted Unsalted Butter,, for brushing
- Salt,, for sprinkling
Instructions
Making the Dough
- Prepare a large baking sheet with parchment, a silicone baking mat, or simply a light coating of grease. In a large mixing bowl, add flour, sugar, baking powder, salt, and baking soda. Whisk to combine. Add in cold butter cubes, and work the butter into flour with your hands or a pastry cutter. Work the butter until it is crumbly and about the size of peas.
- Slowly drizzle in buttermilk while simultaneously tossing with a fork to combine. After all the buttermilk has been added, knead the dough a few times inside the bowl until a shaggy dough forms.
Shaping, Stacking, and Rolling the Dough
- Turn the dough out onto a floured work surface and pat into a 1” square – try to make the edges as clean and even as possible (a bench scraper helps)
- Using a knife or a bench scraper, cut the square into 4 equal pieces, then stack each of the pieces on top of each other – forming a sort of dough tower. Next, press down on the tower to flatten it, then roll dough into a 1” thick rectangle.
Cutting and Baking the Biscuits
- Cut the biscuits out using a cookie cutter, and transfer the biscuits onto the prepared baking sheet, and place into the fridge for 30 minutes. Meanwhile, preheat oven to 425°F.
- Remove biscuits from the fridge, brush the tops with melted butter, sprinkle the tops with salt, then place into the oven. Immediately reduce the temperature to 400°F, then bake the biscuits for 20-25 minutes, or until the tops begin to turn golden brown.
Notes
Source: Recipe adapted from Bon Appetit
Related Recipes
Looking for more flaky baked goods? Check out these scones below:
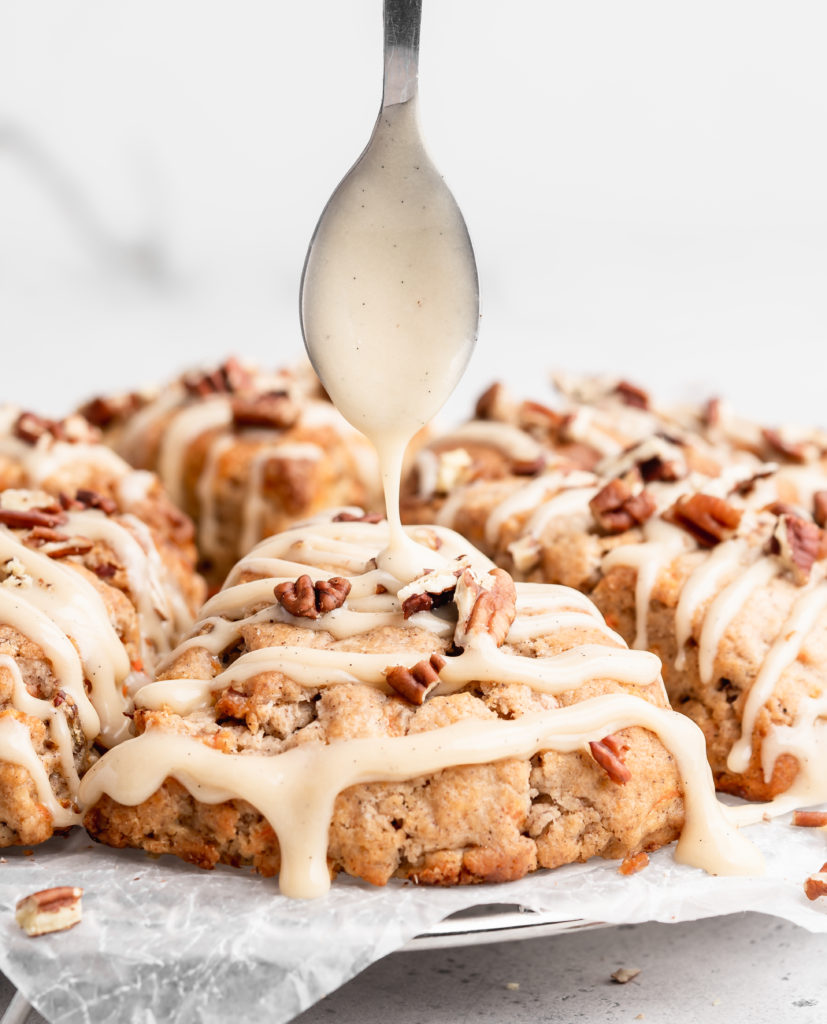
CARROT CAKE SCONES WITH MAPLE CREAM CHEESE GLAZE, These tender flaky scones feature all the great flavors we all love from carrot cake, plus a delicious maple cream cheese glaze.
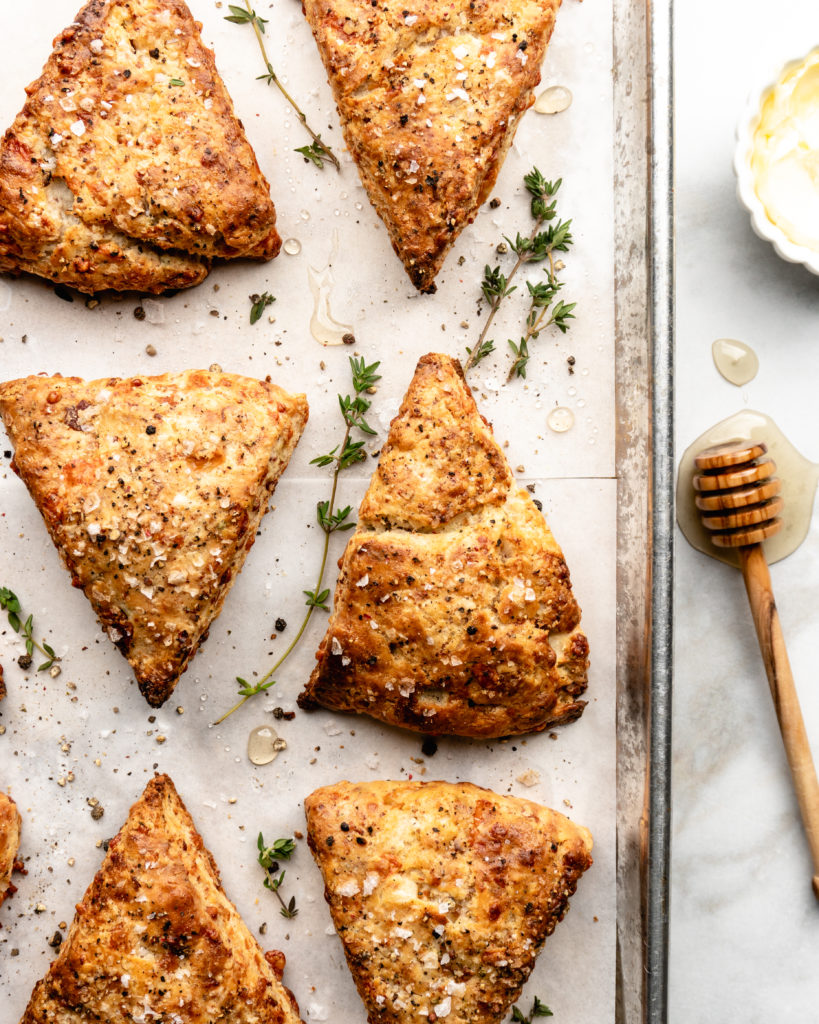
BACON GRUYERE BREAKFAST SCONES. Scones with a savory twist! These scones feature bacon, gruyere, and thyme for maximum flavor!
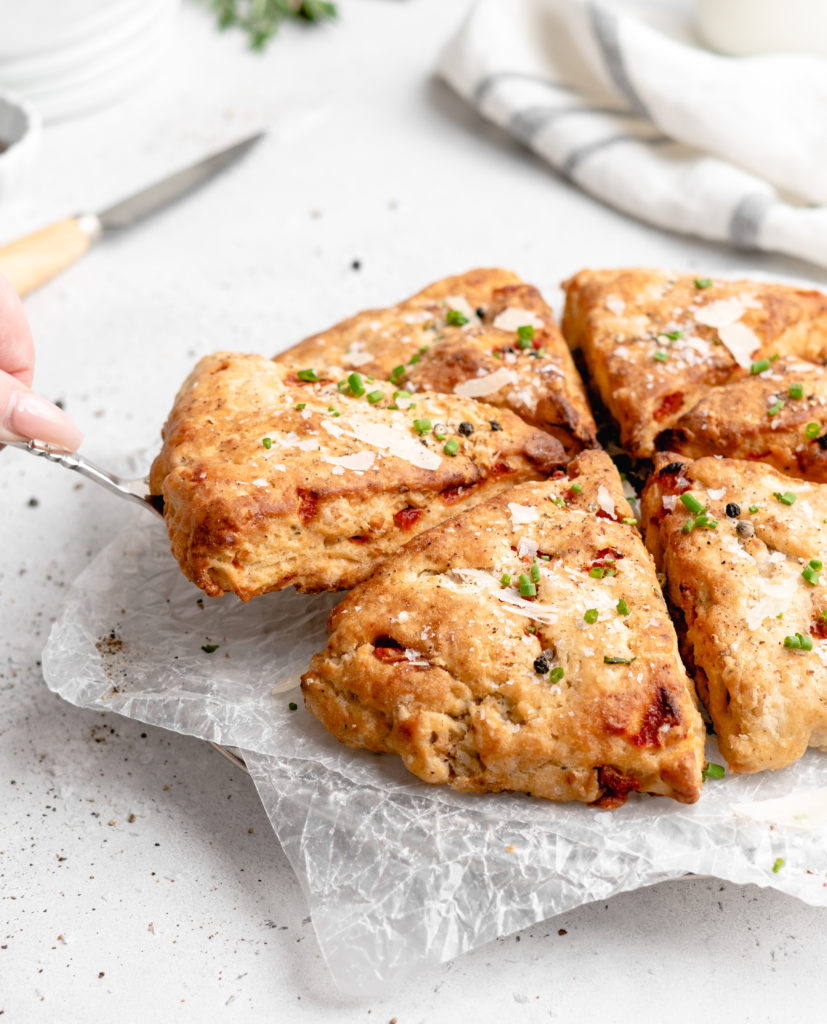
ROASTED RED PEPPER & GOAT CHEESE SCONES. These flaky scones are jam packed with goat cheese, parmesan, and sweet roasted red peppers!