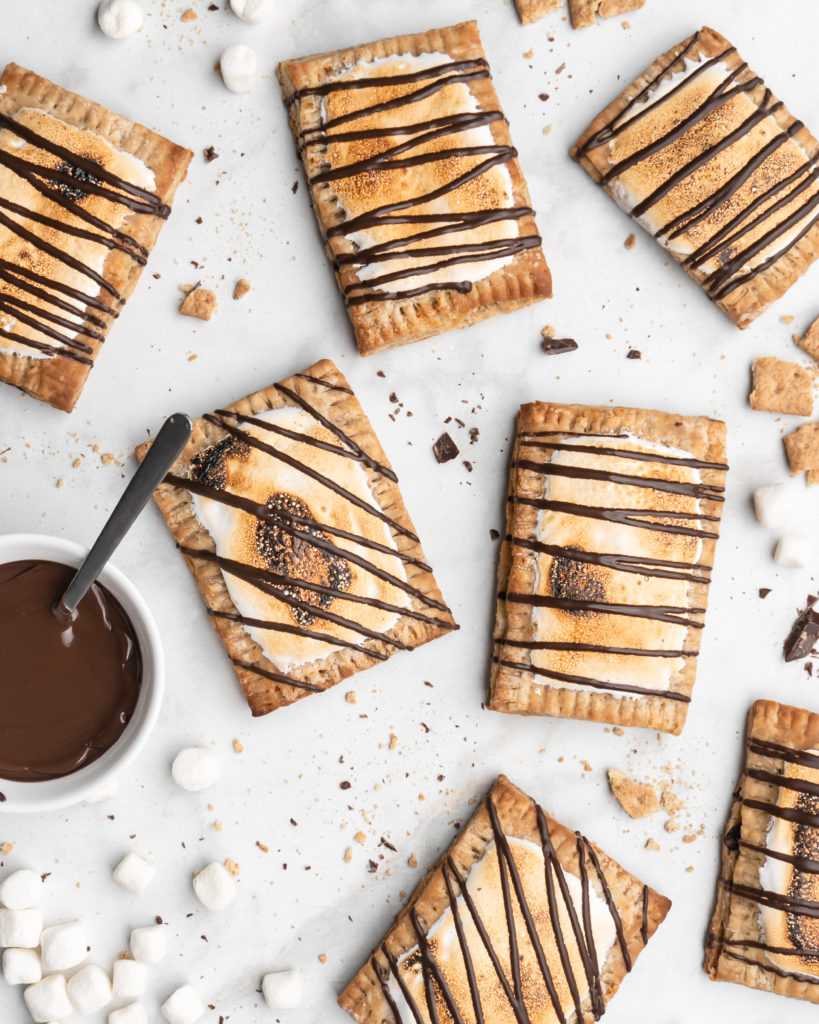
S’mores Hand Pies
My favorite pop tart, by far, growing up was the S’mores Pop Tart! I’m just a huge sucker for anything chocolate – so what could be better than a grown up S’mores Pop Tart, otherwise known as a S’mores Hand Pie! These S’mores Hand Pies feature a super flaky and tender pie dough that is infused with crushed graham crackers, giving it that subtle sweet molasses flavor. They are filled with a milk chocolate fudge, and topped with marshmallow fluff that is torched to golden marshmallow perfection!
How to Make the Perfect Pie Dough
The perfect pie dough should produce a crust that is flaky, tender, buttery, and delicately sweet. In order to achieve this, a few ingredients are needed, as well as proper technique.
The Ingredients
To create the pie dough, cold butter and cold water are absolute musts. Similar to making scones or biscuits, the reason the butter needs to be cold is so that once it hits the hot oven, the water within the butter quickly evaporates, leaving behind little air pockets. These little air pockets are what creates that flaky texture! The reason for the cold liquid is so that it doesn’t warm up the other ingredients, like the butter.
Another ingredient that I use in my pie doughs is vodka. Yes you heard me right – vodka! By using vodka, instead of water, it helps to inhibit gluten formation, and as we know, too much gluten = a tough final product! The reason for this is because water activates gluten, so by replacing the water with vodka it reduces the water content by 40% (vodka is 60% water, 40% ethanol). However, you need to be careful not to add too much vodka, as it may effect the flavor. Therefore, I like to use a 50% water and 50% vodka mix!
The Technique
The key to perfect pie dough is to handle it as little as possible. Handling the dough too much can result in the butter melting, which will create a dense dough. As well, overhandling the dough by kneading it too much will result in excess gluten formation, and a subsequent tough dough. It is important to only knead the dough until it forms a shaggy dough. After a shaggy dough comes together, press it into a disk shape as best as you can and place it into plastic wrap, and then into the fridge for an hour. After an hour, remove the dough, let it warm up slightly on the counter for 3-4 minutes, then begin rolling it out!
How to Make the Chocolate Filling
To make the chocolate filling for these S’mores Hand Pie recipe, start by adding milk, sugar, and cocoa powder to a saucepan over medium heat. Whisk the ingredients together and heat until the mixture is smooth, and just begins to simmer. Remove from heat, then add the chopped chocolate and melted butter. Stir lightly, then set aside to let the chocolate melt. Return to the mixture in about 5 minutes, and whisk the mixture together well until it is smooth. Set aside to thicken up and to cool to room temperature.
Assembling the S’mores Hand Pies
After the pie dough has been rolled out to about 1/8” to 1/16″ thick, begin cutting the dough into 16 equal sized rectangles – they should be about 3” by 4” in size. On half of the cut-out rectangles (we’ll call these rectangles the ‘tops’) poke multiple little holes – this is just to let the steam escape from inside, and brush the borders with egg wash. On the other half of the rectangles, we’ll call these the ‘bottoms’, place a heaping tablespoon of the chocolate filling in the center, and lightly spread it out, leaving a 3/4″ border around the filling. Then, brush egg wash around this border. Now place the tops onto the bottoms, and press the edges together well with your fingers, then using a fork, crimp the edges to seal the S’mores Hand Pies.

Spread chocolate filling, leaving 3/4″ border 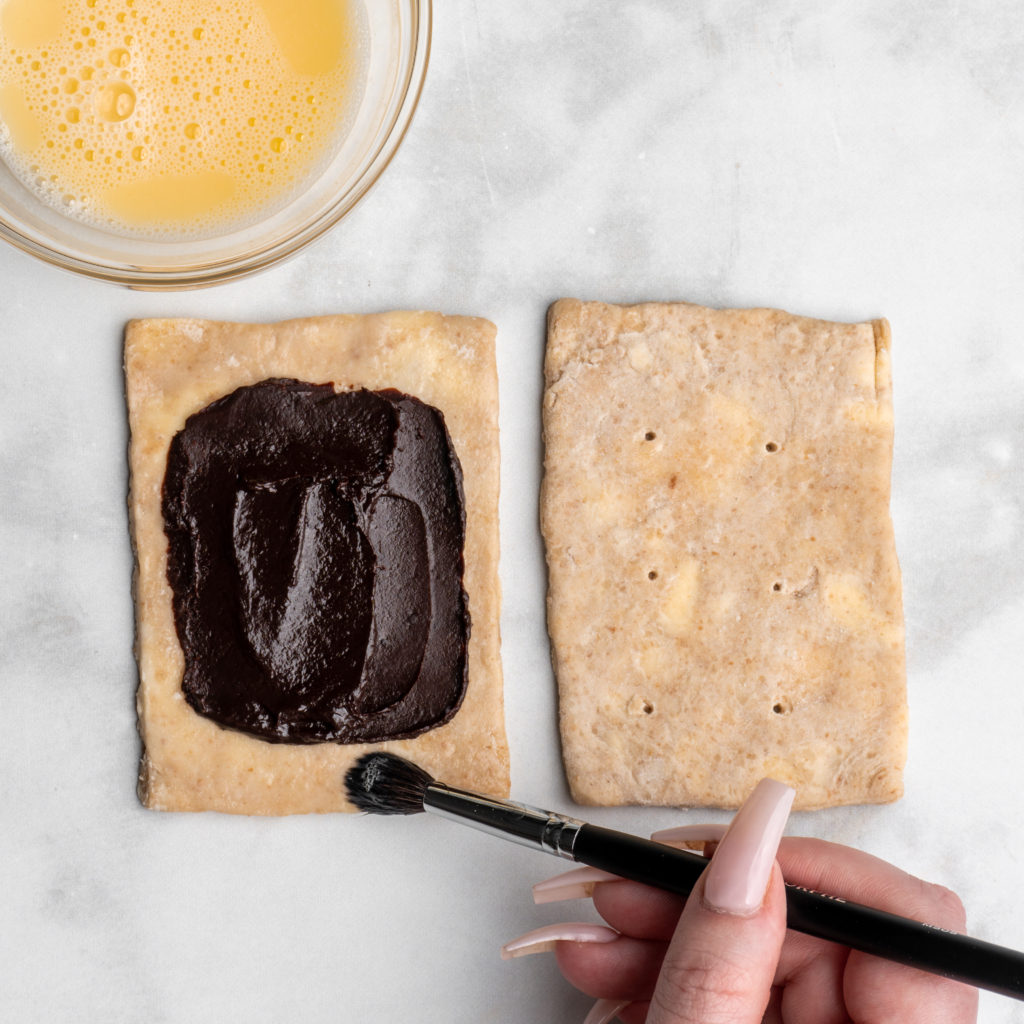
Add egg wash around border of ‘bottom’ 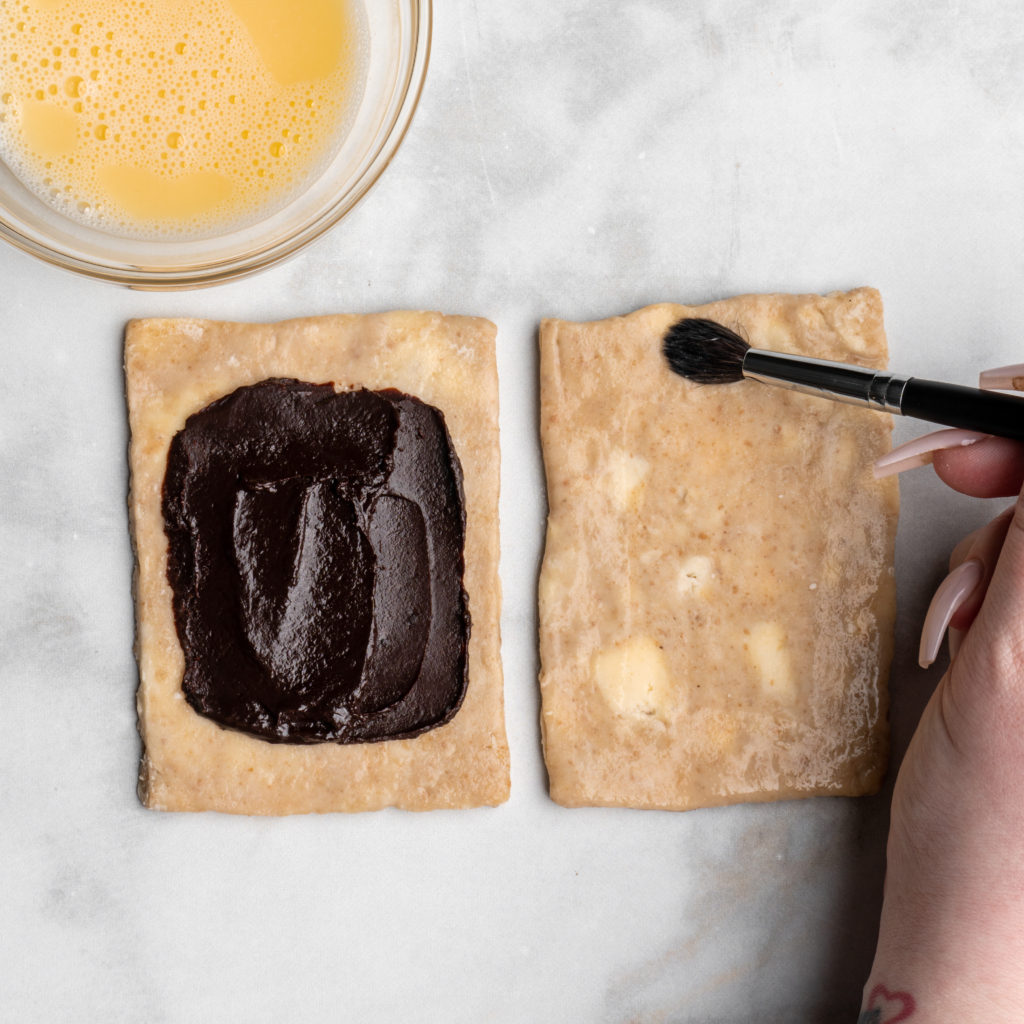
Add egg wash around the border of the ‘top’. 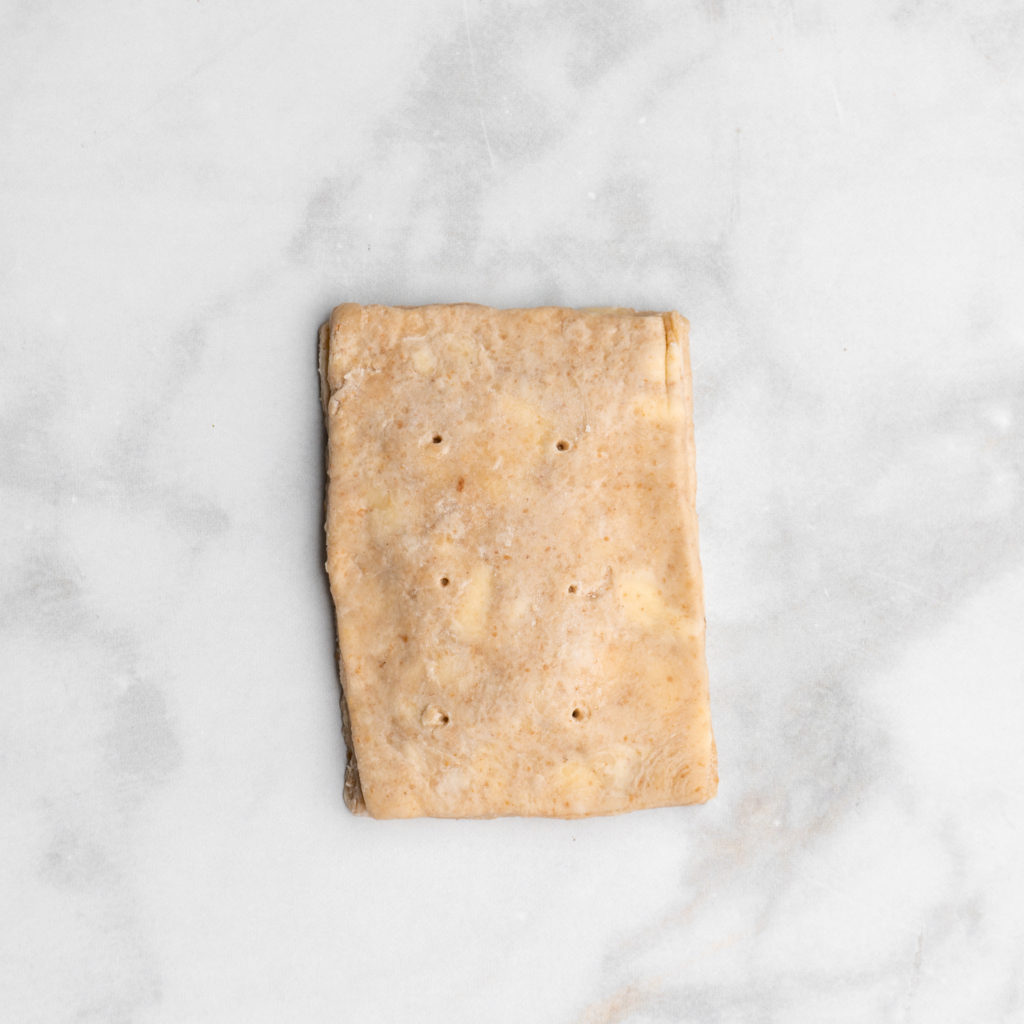
Place ‘top’ onto ‘bottom’. 
Seal edges by pressing them down with fingers. 
Crimp edges with fork.
At this point, I actually like to place the S’mores Hand Pies into the freezer to cool for another hour. This just further enhances the flaky texture, and allows them to better keep their shape.
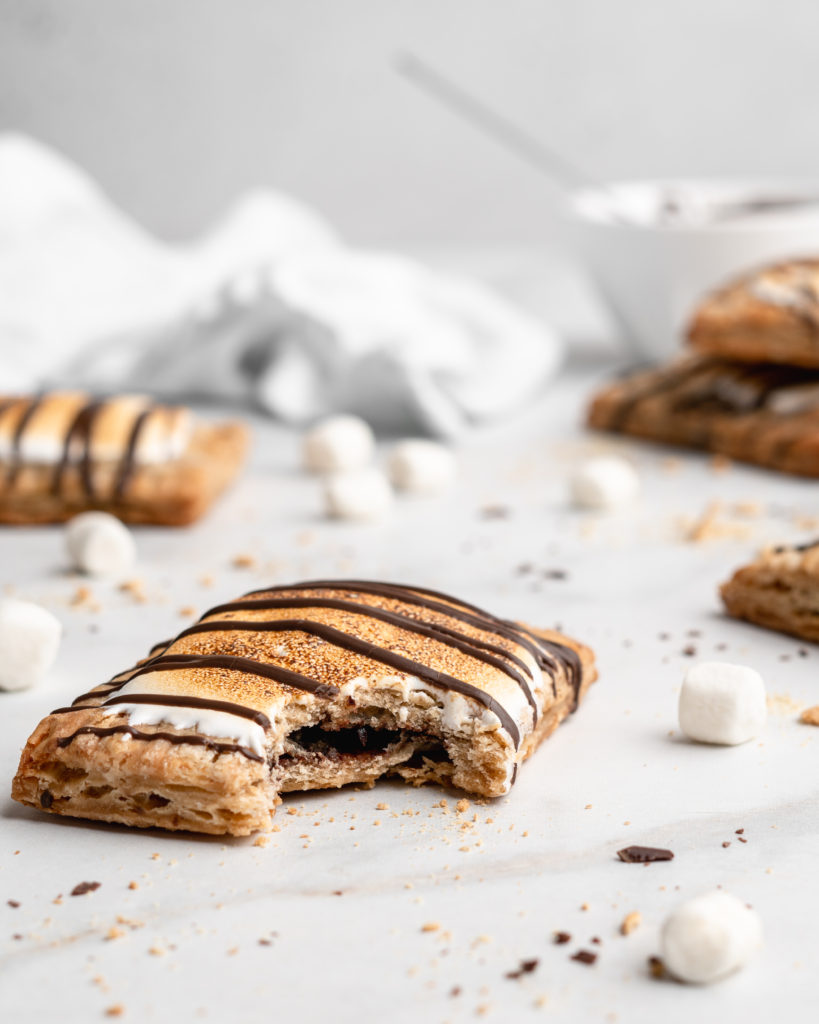
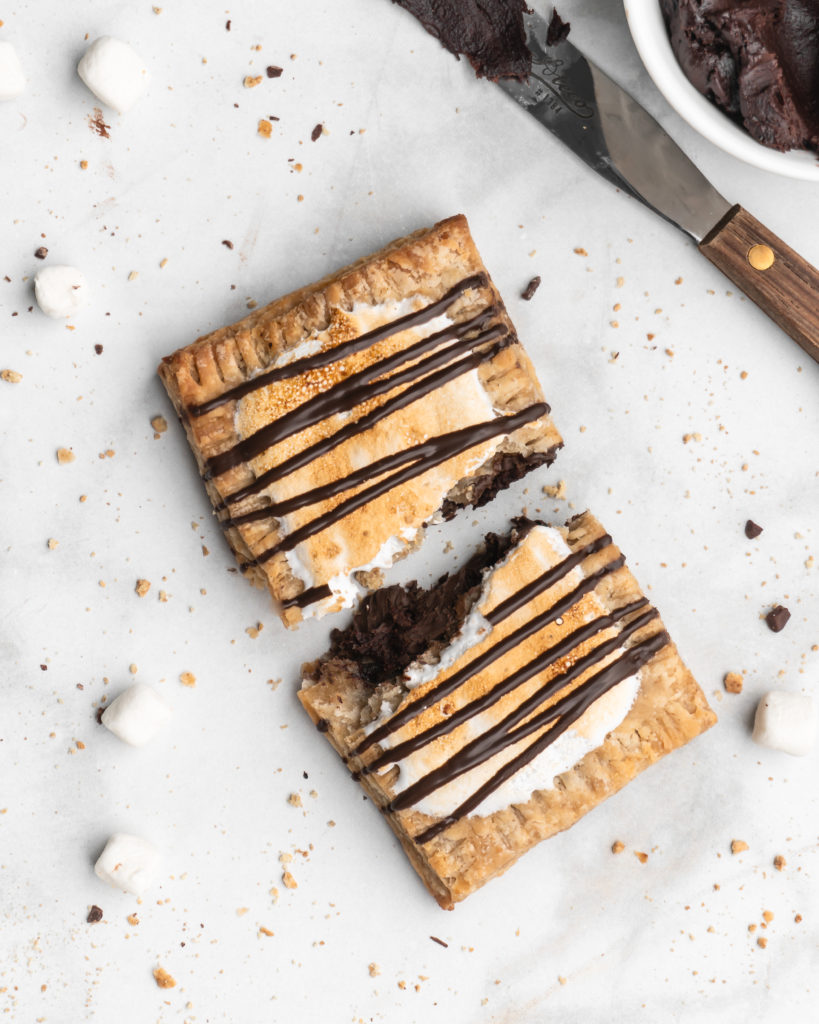
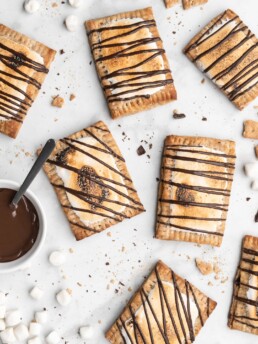
Place the S’mores Hand Pies into the oven to bake. When finished, spread a layer of marshmallow fluff on top while the hand pies are still hot. Brulee the marshmallow fluff with a kitchen torch, or place into the oven on broil to brown the marshmallow fluff. If using the oven-broil method, just make sure to keep an eye on them at all times, to ensure the S’mores Hand Pies do not burn!
Get the Recipe: S’mores Hand Pies
Ingredients
Graham Cracker Pastry Dough
- 2 cups Cold Unsalted Butter, cubed
- 2 ½ cups (320g) All-Purpose Flour
- 3/4 cup (160g) Sifted Graham Cracker Crumbs
- 1/4 cup (60g) White Sugar
- Pinch of Salt
- 4 tbsp Vodka,, well chilled
- 4-6 tbsp Ice Water
Milk Chocolate Filling
- 1/4 cup Whole Milk
- 1/4 cup White Sugar
- 1/4 cup Cocoa Powder,, sifted
- 100 g Milk Chocolate,, finely chopped
- 3 tbsp Unsalted Butter,, melted
Topping & Decoration
- 1 cup Marshmallow Fluff
- 1/4-1/2 cup Chocolate Candy Melts,, melted
Instructions
Making the Graham Cracker Pie Dough
- Mix together vodka and water into a small measuring cup, then set aside. In a large mixing bowl, add flour, graham cracker crumbs, sugar, and salt. Whisk to combine. Add in cold butter cubes, and work the butter into flour with your hands or a pastry cutter. Work the butter until it is crumbly and about the size of peas.
- Slowly drizzle in vodka-water while simultaneously tossing with a fork to combine. After all the vodka-water has been added, knead the dough a few times inside the bowl until a shaggy dough forms. If the dough doesn’t come together, slowly add more water until a shaggy dough forms.
- Form dough, as best as you can, into a disk shape, then place into a freezer bag, then into the fridge for an hour to chill.
- Remove dough from fridge and place onto counter for 5 minute to warm-up a bit. Remove the dough from the freezer bag and place onto a well-floured work surface.
- Roll dough out to be about 1/8”-1/16” thick, aiming for as much of a perfectly shaped rectangle as you can. Using a bench scraper or a pizza cutter, cut out 3×4” rectangles.
Making the Milk Chocolate Filling
- Add milk, sugar, and cocoa powder to a small saucepan over medium heat. Whisk together, then bring to a simmer and immediately remove from heat. Add chopped chocolate and melted butter, then lightly stir with a spatula. Let sit for 5 minutes.
- After 5 minutes stir the mixture until it is well-combined and smooth. Allow to cool to room temperature before using to fill hand pies.
Filling & Baking
- Scoop a heaping tbsp of filling onto ½ of the cut out rectangles, these will be the ‘bottoms’. Spread the filling out, leaving a ¾” thick border along the edges. Brush the border with water or egg wash.
- With the remaining rectangles (i.e. the 'tops), poke several holes across the surface, then brush water or egg wash along the borders. Then place each of the tops onto a bottom filled piece, and press the two pieces together along their borders with your fingers. Then, using a fork, crimp the edges to seal them.
- Preheat oven to 400°F. Place the assembled hand pies onto a parchment lined baking sheet and place into the freezer for 30 minutes to an hour.
- Remove the hand pies from the freezer, and place into the oven to bake for 20 minutes, or until golden brown.
Topping & Decoration
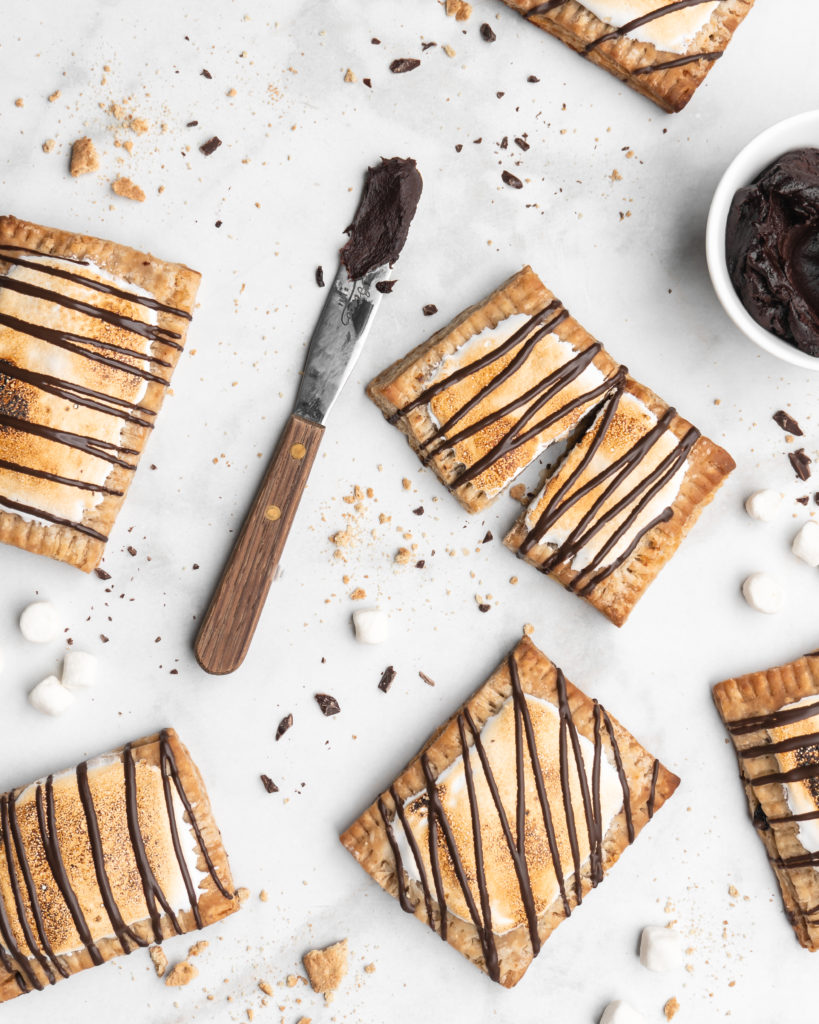
- While the hand pies are still hot, top each hand pie with a smearing (1-2 tbsp worth) of marshmallow fluff. Using a kitchen torch, torch the marshmallow fluff until it is golden brown. Allow to set for 5 minutes, then drizzle with melted chocolate candy melts.
Source: Filling adapted from The Loopy Whisk

The only thing I see wrong with this recipe is you mention cold butter cubes in the directions for the pie dough.. but the ingredients for that don’t mention any cold butter. How many tablespoons is that supposed to be?
Hi thanks for letting me know! Sometimes in the importing process some ingredients get lost! Its supposed to be 2 cups of butter!