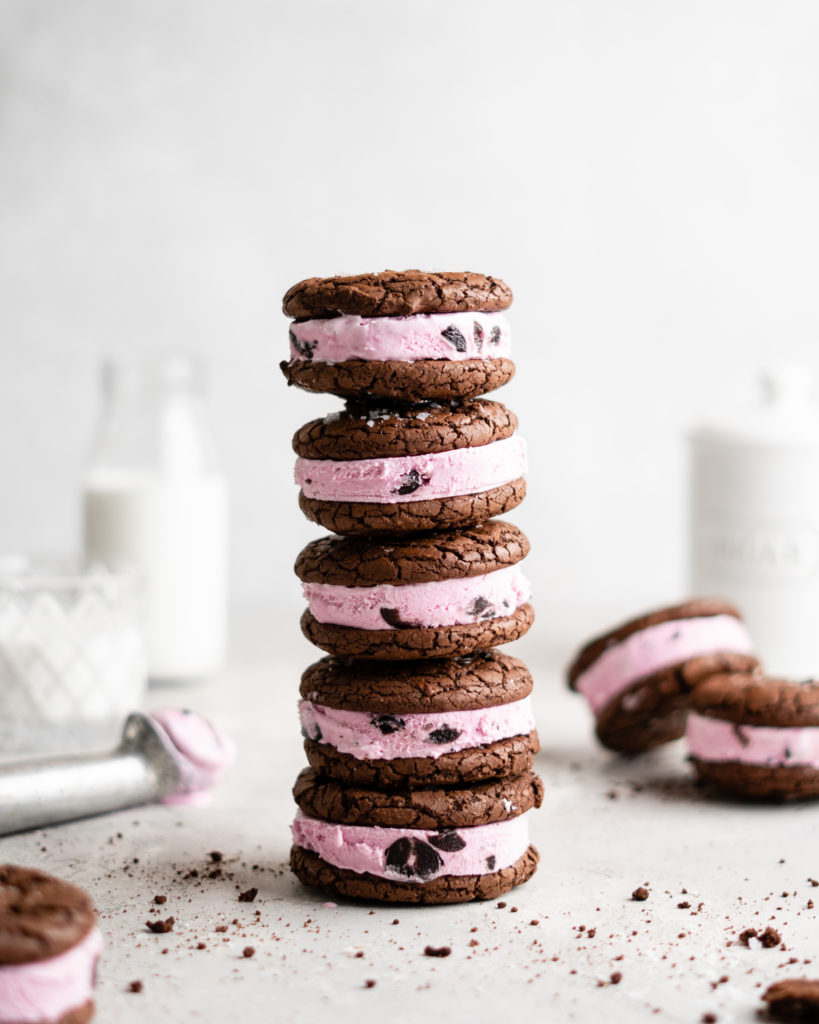
Black Forest Ice Cream Sandwiches
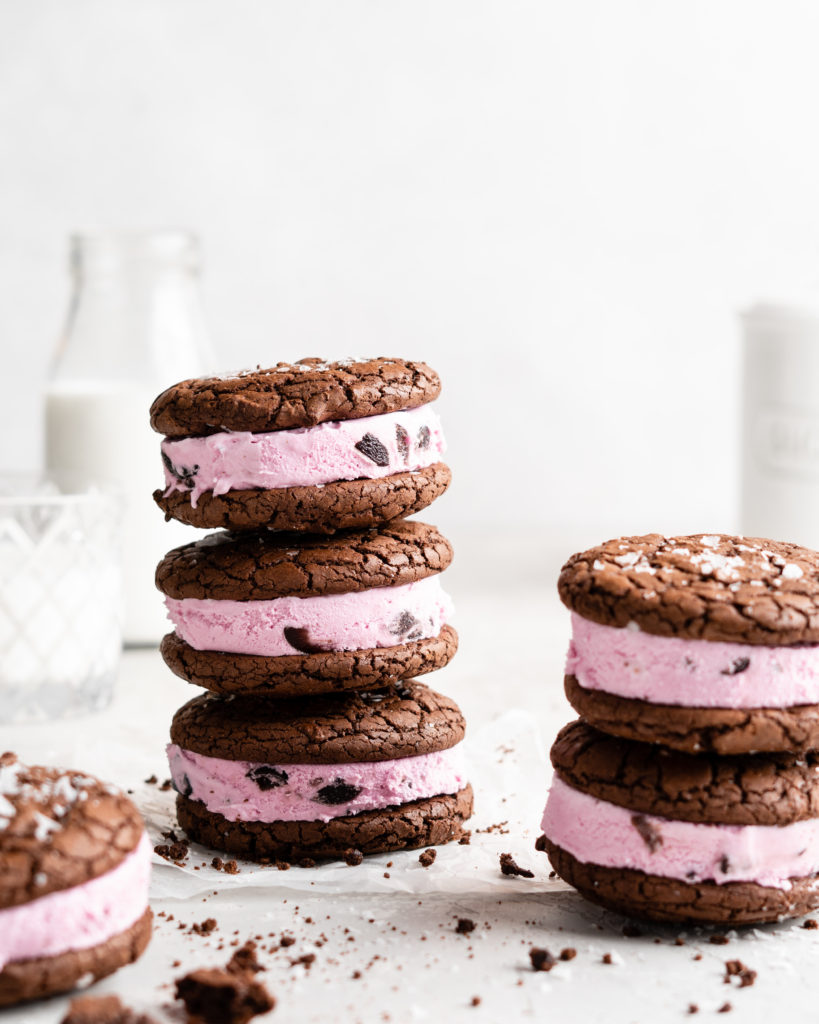
Calling all Black Forest lovers, because these Black Forest Ice Cream Sandwiches are the absolute perfect summer treat! This recipe features homemade brownie cookies that have an irresistibly fudgy center that makes them ooey-gooey and perfectly chewy! Store-bought cherry ice cream is scooped and sandwiched between two of the cookies, making for a relatively easy and delicious ice cream sandwich!

WHAT IS DOUBLE-DUTCH PROCESSED COCOA?
This cookies in this Black Forest Ice Cream Sandwiches recipe calls for Dutch Processed cocoa powder and Double-Dutch processed cocoa as the cocoa powder. ‘What the heck is this’, you ask? Dutch processed cocoa is created by alkalizing regular cocoa powder to bring it up to a pH of 7. This process sort of strips the acidic properties out of the cocoa powder, leaving it with a much more mild, less astringent taste. By removing the astringency, the flavor of chocolate is able to shine through more, creating the illusion that it tastes more chocolatey!
‘Black’ cocoa powder is DOUBLE-alkalized cocoa powder. Meaning that it’s even more chocolatey in flavor, and extremely dark in color! I use this Double Dutch-Processed Cocoa Powder from King Arthur Flour. If you don’t have any black cocoa powder and don’t wish to purchase any, you can simply substitute it out for regular Dutch-processed cocoa – the flavor will just be a little less chocolatey.
As a side note – be warned, however, that regular cocoa powder and dutch-processed cocoa powder/black cocoa powder cannot always be used interchangeably. Recipes that include baking soda need an acid to activate the baking soda to induce rising. In many recipes this ingredient is cocoa powder (pH=5.3). Therefore, using Dutch processed cocoa powder and black cocoa powder, which has a neutral pH, wouldn’t activate the baking soda, and another acidic ingredient would be required. This recipe uses baking powder, instead of soda, so we do not need to worry about the pH.
How to make the Brownie Cookies for the Black Forest Ice Cream Sandwiches
1) Melt chocolate and butter: Add chopped chocolate and butter into a heat-proof bowl and place overtop of a simmering pot of water (bain-marie). Ensure that the bottom of the bowl isn’t actually touching the water. Heat and stir until all of the chocolate and butter is melted. Allow to cool slightly.
2) Beat eggs, sugar, and vanilla: Add the eggs, sugar, brown and vanilla to a stand mixer and beat until the batter looks fluffy and has almost tripled in volume – about 3-4 minutes on high.
3) Add melted chocolate/butter: Add the slightly cooled melted chocolate mixture to the stand mixer, then mix until well combined with the rest of the batter.
4) Combine dry ingredients: In a separate bowl, combine the flour, baking powder, salt, and both cocoa powders. Whisk until well-combined
5) Add dry ingredients to batter: Add the dry ingredients to the stand mixer then beat on medium-low until just combined and smooth.
6) Scoop onto baking sheets: Using a small cookie scoop, scoop the batter onto the baking sheet. The batter will be very similar to brownie batter. Use the back of the cookie scoop to flatten each batter mound.
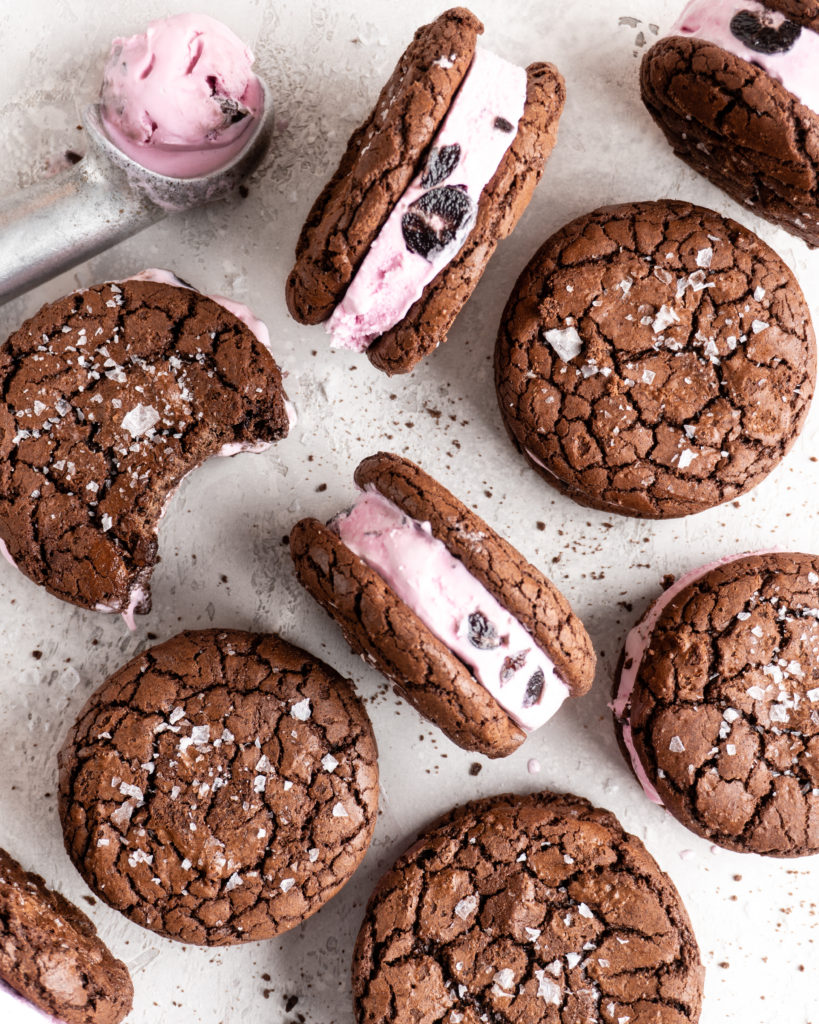
7) Bake: Sprinkle the cookies with a little bit of flaky salt, then bake the cookies, one sheet at a time. Allow the cookies to cool completely.
Filling & Eat the Black Forest Ice Cream Sandwiches
Once the cookies have completely cooled, place a scoop of cherry ice cream onto half of the cookies. Place the other half of the cookies on top, then wrap each Black Forest ice cream sandwich up individually and place into the freezer for a few hours to set up before enjoying.


Get the Recipe: Black Forest Ice Cream Sandwiches
Ingredients
- 3.5 oz (100g) Dark Chocolate,, finely chopped
- 6 tbsp Unsalted Butter,, at room temperature
- 9 tbsp Dark Brown Sugar
- 1 Large Eggs
- 1 tsp Vanilla
- 1/2 cup (65g) All Purpose Flour, , measured correctly†
- 1/2 tsp Baking Powder
- 1/4 tsp Kosher Salt
- 1 tbsp Dutch Processed Cocoa Powder
- 1/2 tbsp Black Cocoa Powder, (Double-Dutch)
- Flaky Salt,, for garnish
- 6 Scoops of Cherry Ice Cream
Equipment
- Stand mixer
Instructions
- Preheat oven to 350°F and prepare a baking sheet with parchment. Add chopped chocolate and butter into a heat-proof bowl and place over top of a simmering pot of water. Ensure bottom of the bowl isn’t touching the water. Heat and stir until all of the chocolate and butter is melted. Allow to cool slightly.
- Add the eggs, brown sugar, and vanilla to a stand mixer fitted with a whip attachment, then beat until the batter looks fluffy and has almost tripled in volume – about 3-4 minutes on high. Add the slightly cooled melted chocolate mixture to the stand mixer, then mix until well combined with the rest of the batter.
- In a separate bowl, add the flour, baking powder, salt, and both cocoa powders, and whisk until well-combined. Then, add the dry ingredients to the stand mixer then beat on medium-low until just combined and smooth. The batter will similar to brownie batter.
- Using a small cookie scoop, scoop the batter onto the baking sheet, then use the back of the scoop to slightly flatten each mound of batter.
- Sprinkle the cookies with a little bit of flaky salt, then bake the cookies for 9 minutes. Allow the cookies to cool completely.
- Place 1 scoop of ice cream onto ½ of the cookies, then place the other cookies on top of each half sandwich to make a full ice cream sandwich. Place back into the freezer to set up fully.