Tiramisu Donuts (Filled Yeast Donuts)
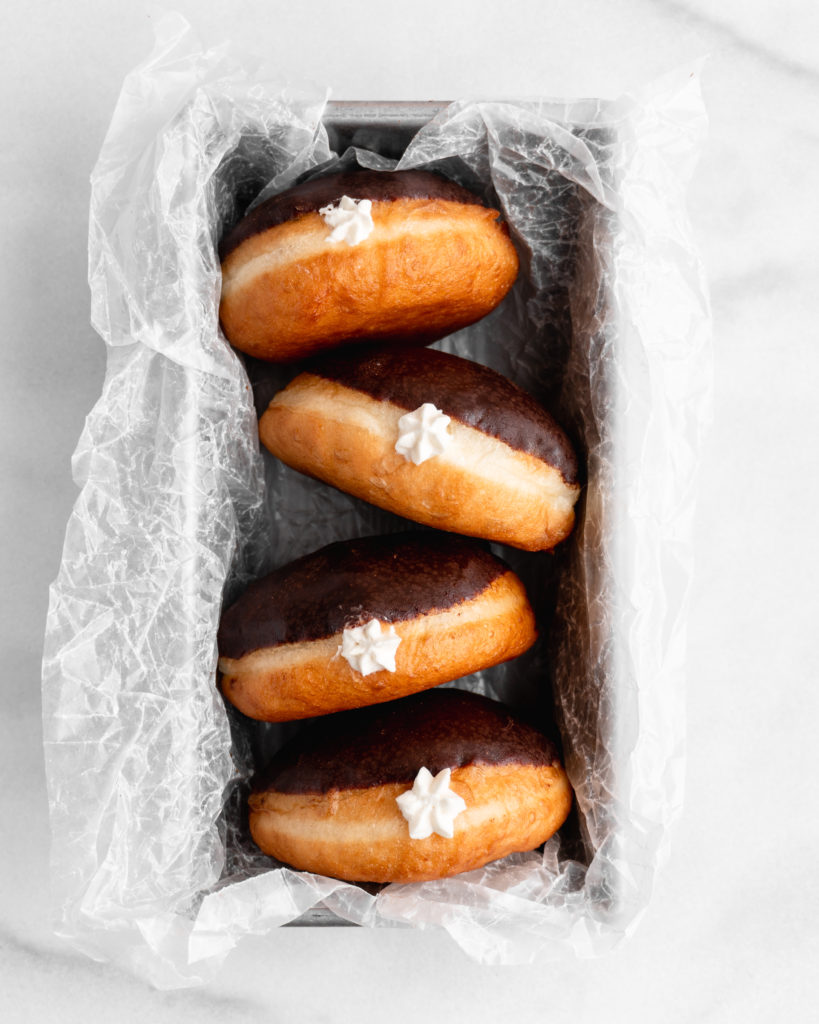
These tiramisu donuts are the perfect hybrid between the classic Italian dessert and the fried dough we all know and love! This tiramisu donut recipe features golden fried donuts that are stuffed full of a creamy whipped cream and mascarpone filling that has been lightly spiked with kahlua! The tiramisu donuts are finally dipped in an easy to make espresso chocolate glaze!
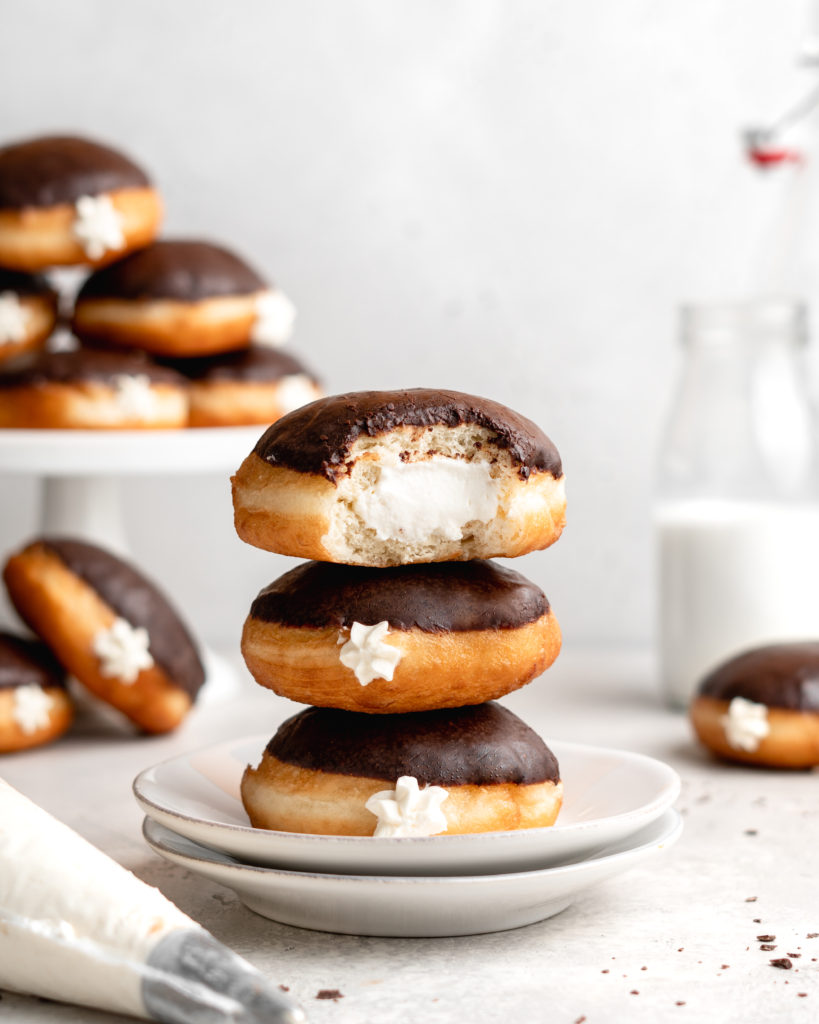
MAKING THE DOUGH
As with most bread dough, the stand mixer with the dough hook attachment is a life-saver! Start by blooming the yeast in the warm (105°F) water. After about 5-10 minutes, the yeast should be bloomed. Next, add it to the stand mixer, and also throw in the melted butter, beaten egg, buttermilk, and sugar. Whisk this all together to combine it, then add the flour and salt. Mix together with a wooden spoon until a shaggy dough has formed, then place the dough hook on the stand mixer and beat for about 5 minutes, or until the dough is smooth, elastic, and shiny, but is still tacky to the touch.
Next throw the dough in a well-oiled bowl and cover with plastic wrap, and place into a warm place for the initial rise. The rising period can be anywhere from 1-3 hours – the important thing to look for is that the dough has doubled in size! My dough took about 2 hours to rise.

PROOFING AND CUTTING THE TIRAMISU DONUTS
After the initial rise, remove the plastic wrap from the bowl and punch down the dough to deflate it. Pour the dough out onto a floured work surface, and roll the dough out to about ½” thickness. Grab a large round cookie cutter, and begin cutting out your Tiramisu Donuts! Just a reminder that these donuts do not have holes! I typically get about 10-12 Tiramisu Donuts out of this batch of dough.
Next it’s time for the second rise. Place the cut-out Tiramisu Donuts onto 2 parchment-lined baking sheets. I use 2 baking sheets so that it gives the donuts enough room to rise. I actually like to cut out parchment squares, about 5×5″, to place each donut onto, to make the handling and transferring to the hot oil much easier once they’re proofed.
Now for the final proofing. The donuts need to be proofed in a humid, warm area. It is important that it is humid because it prevents the donuts from drying out and forming a skin (which can cause large air pockets). The ideal way and place to proof the donuts is to place them into the oven (on the top and middle racks), and then on the bottom rack place a baking pan filled with boiling water. Now, turn your oven on to 350F for exactly 1 minute, then immediately turn it off. Let the donuts proof for about 20 more minutes – I use this time to start heating my oil up.
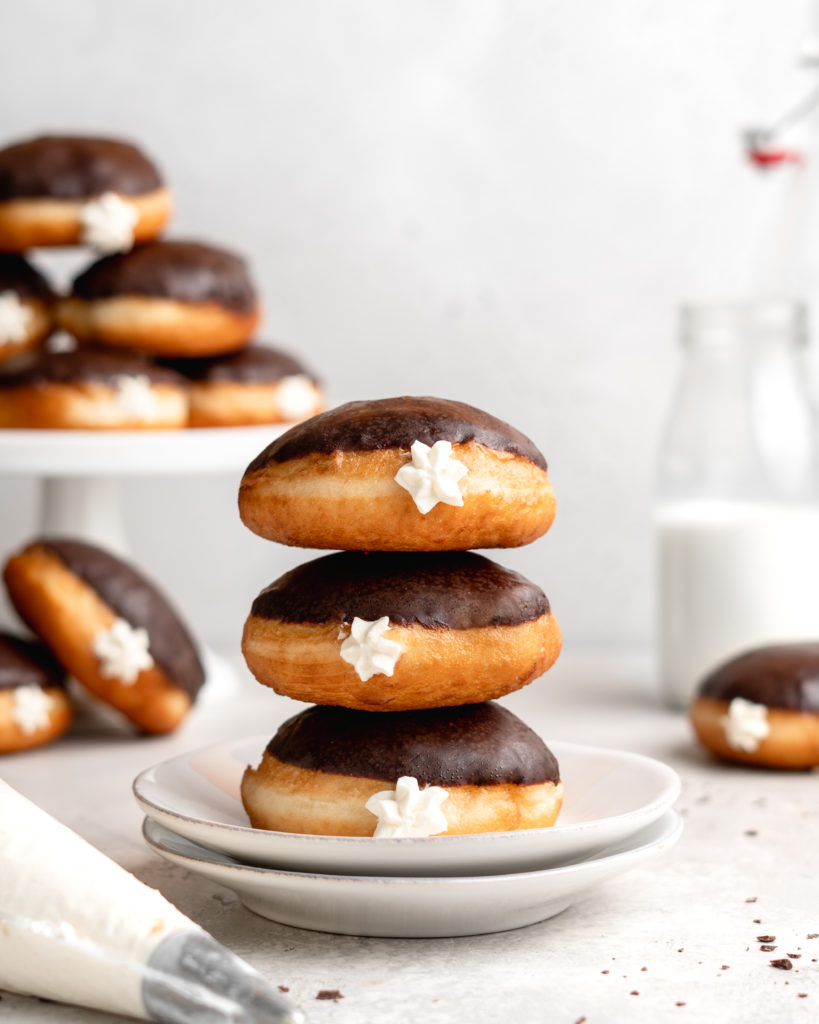
FRYING THE TIRAMISU DONUTS
After the Tiramisu Donuts have completed their second rise, and the oil has reached 350°F – 375°F, it is time to start frying! Carefully pick each donut up from the baking sheet (don’t be too aggressive when picking them up – you don’t want to deflate them), and carefully place them into the hot oil. If using the parchment squares, they can be placed into the oil with the donut and then fished out with tongs.
I typically fry 4-5 donuts at a time, to ensure no overcrowding happens. I like to keep the un-fried donuts in the humid oven while I fry in batches. Fry each side for about 1 minute, or until it becomes a lovely golden brown color. Remove the Tiramisu Donuts from the oil with a spider or tongs, and place onto a cooling rack that is placed over a paper towel (to absorb excess dripping oil).
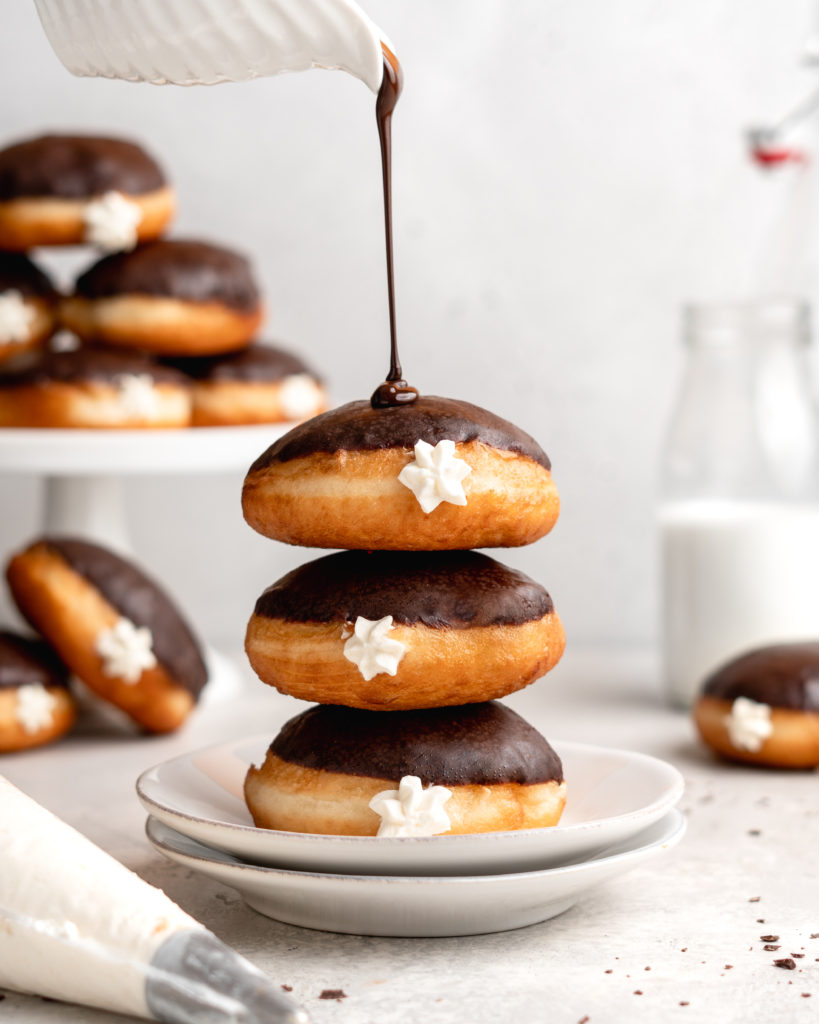
FILLING THE TIRAMISU DONUTS
When the donuts are cooled to room temperature, it’s time to fill them! To fill the Tiramisu Donuts, start by adding the mascarpone whipped cream filling into a piping bag with a medium sized round tip. Next, take a bamboo skewer and insert it about halfway into the donut, and wiggle the skewer around to create a pocket for then filling. Insert the piping tip into the donut and squeeze the tiramisu filling into the donut until it is full and begins to resist more filling. Finish the donuts with the espresso chocolate glaze!
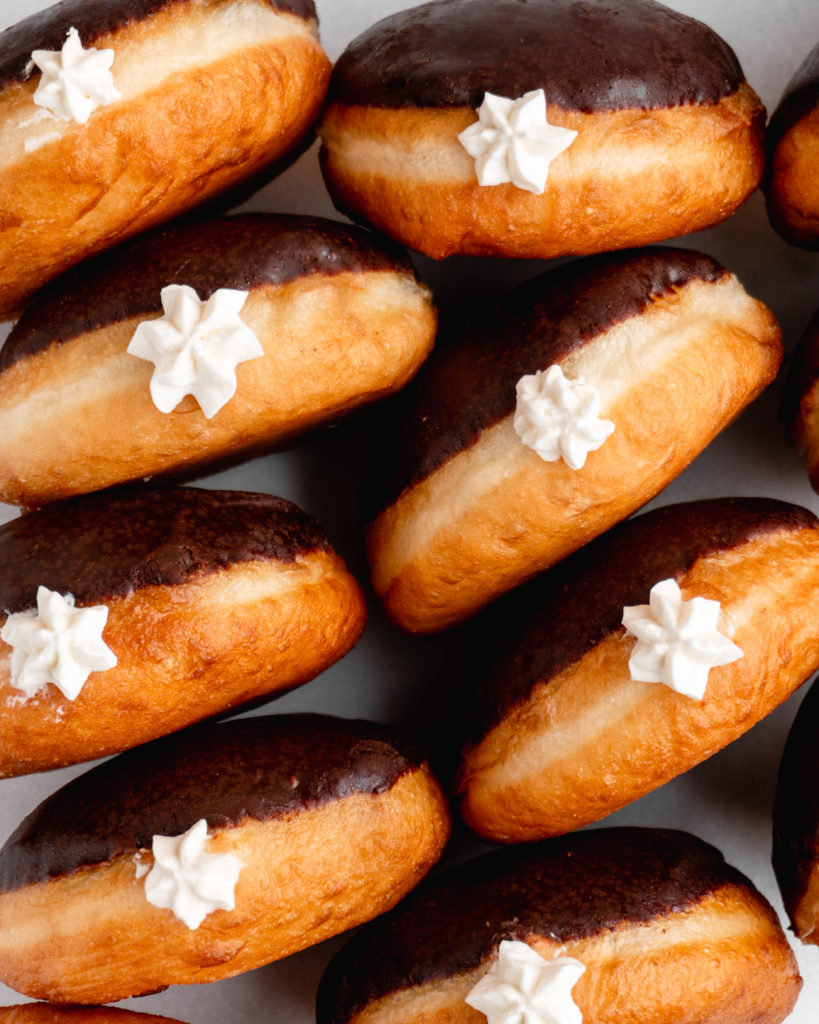
The Espresso Chocolate Glaze
These delicious tiramisu donuts are topped with an espresso spiked chocolate glaze that is quick to make and only requires a few ingredients! The espresso chocolate glaze involves melting chocolate and therefore it is important to properly know how to melt it!
How to Properly Melt Chocolate
Melting chocolate, while relatively straight-forward, has a low-threshold for any mistakes and can become an absolute disaster quite quickly! Chocolate absolutely hates moisture (water) of any kind and it also hates too much heat. Overheat or heating chocolate too quickly will cause the chocolate to seize as well. This is the reason why, in this recipe, the chocolate is melted in a dry pyrex measuring cup and microwaved for short spurts with stirring in between!
Making the Espresso Chocolate Glaze
To make the espresso chocolate glaze, start by finely chopping the chocolate, placing it into a the pyrex measuring cup. Place into the microwave for exactly one minute, then remove it and stir it around. If the chocolate hasn’t completely melted, return it to the microwave for 20 second intervals, stirring in between, until the chocolate is melted completely! After melted, stir in the corn syrup, espresso powder, and butter!
Get the Recipe: Tiramisu Donuts
Ingredients
Tiramisu Donuts
- 6 tbsp Water,, warmed to 105°F
- 1 ½ tsp Instant Or Active Dry Yeast
- 2/3 cup Buttermilk,, at room temperature
- 1 Large Egg,, lightly beaten, at room temperature
- 1/4 cup Unsalted Butter,, melted (but not hot)
- 1/4 cup Sugar
- 454 g (1 lb) All-Purpose Flour
- 1 tsp Salt
- Shortening/oil for frying
Mascarpone Whipped Cream
- 1 cup Heavy Cream
- 6 tbsp Confectioners Sugar
- 1/2 tsp Vanilla
- 8 oz Mascarpone
- 2 tbsp Kahlua
Chocolate Glaze
- 135 g Semi-Sweet Chocolate,, finely chopped
- 3 tbsp Unsalted Butter,, at room temperature
- 3 tsp Light Corn Syrup
- 1 tsp Espresso Powder
Equipment
- Stand mixer
Instructions
Making the Donut Dough
- In a measuring cup add warm water and yeast together. Stir together to combine, then allow to sit until it becomes foamy, about 10 minutes. Meanwhile, in a separate bowl, whisk together the flour and the salt, and set aside.
- Add buttermilk, beaten egg, butter, and sugar to the stand mixer and whisk together to combine. Add bloomed yeast-milk to stand mixer and whisk to combine. Add the flour/salt to the stand mixer, and mix with a wooden spoon.
- Next, attach the dough hook onto the stand mixer, and place on medium-low speed. and mix for around 5-10 minutes for the dough to form. When ready it should be smooth, elastic, and a little bit tacky to the touch.
- Transfer dough to a greased large bowl, cover with plastic wrap, then place in a warm area to rise for about two hours, or until the dough is doubled in size.
Cutting, Proofing, & Frying
- Turn the proofed dough out onto a lightly floured work surface and roll out to be about ½” thick. Using cookie cutters (I use a 3” cookie cutter), cut out your donuts, then transfer them onto a parchment lined baking sheet. Ensure there is enough space between each donut to allow for rising room (I typically use 2 baking sheets for this).
- Place the donuts into a warm, humid area to rise for about 20 minutes. The best place/way to do this is by placing the baking sheets onto the top and middle racks of your oven, then place a baking pan onto the bottom rack, then fill the baking pan with boiling water. Close the oven, then turn it on to 350°F for exactly one minute, then immediately turn it off (do not let the oven actually reach 350°F, you are only turning the oven on for 1 minute to slightly warm the oven to encourage rising). Alternatively, if your oven has a ‘bread proof' function just turn that on instead.
- Meanwhile, add oil to a large wide pot, such as a Dutch oven, filling it about halfway. Heat the oil over medium-high heat until it reaches between 350°F or 375°F. When ready, carefully (don’t be too aggressive or the donuts will deflate) pick up the donuts and place them into hot oil, and fry for about 1 ½ minutes per side, or until golden brown. Then place onto paper towel-lined baking sheet to cool off.
Filling with Mascarpone Whipped Cream
- Add whipping cream, confectioners sugar, and vanilla, to a large bowl, beat with an electric mixer until stiff peaks have formed. Add mascarpone and kahlua, then continue to beat, just until smooth. Be careful not to overbeat. Keep cold until ready to fill.
- When the donuts are cooled to room temperature, add the mascarpone whipped cream filling into a piping bag fitted with a medium-sized round tip. Insert a bamboo skewer about halfway into each donut, then wiggle it around to create a pocket for the filling. Insert the piping bag tip, and squeeze the filling into each donut until each donut is filled with it.
Espresso Chocolate Glaze
- Add chopped chocolate to a microwave proof bowl and place in microwave for 1 minute, or until melted (check at 1 minute, stir, and return to microwave if needed in 20 second intervals until melted).
- Once the chocolate has completely melted, add the butter, corn syrup, and espresso powder, then stir together until the butter has melted and everything is well combined.
- Transfer glaze to a wide-mouthed bowl, then glaze each donut top with the chocolate glaze and allow the glaze to set for 10-15 minutes before eating.
Source: Dough recipe adapted from Christina Cucina


I have to say I’m a bit disappointed. This is not my first time making donuts… and I should have trusted my gut. Telling folks to place the dough in the oven after it’s been at 350 is a mistake. The dough gets hard and cooks partially, causing them not to actually rise OR to expand while being fried. I ended up with dense dough disks instead of donuts. I should have went with my better judgement and rose covered on the counter. So sad after a day of prep looking forward to them.
That being said, the cream filling was delightful and the glaze was good as well. Overall it was hard to overcome the let down that the donut itself ended up being.
I’m sorry that this happened. I think the instructions were misinterpreted. The oven was not supposed to reach 350F – you were only supposed to turn the oven on for 1 minute to very slightly warm the oven up – the optimal rising temperature for yeast is 100F, so turning the oven on for exactly 1 minute, then turning it off, brings the oven temp to that 100F. I have amended the instructions to make this more clear.